Why Choose Latex Paint for a Metal Door?
When it comes to painting a metal door, the choice of paint is one of the most critical decisions you will make. Latex paint, also known as water-based paint, has become increasingly popular for metal door applications due to its ease of use, quick drying time, low odor, and environmental friendliness compared to oil-based alternatives. Modern latex paints have been formulated to provide excellent adhesion, durability, and resistance to the elements, making them a viable and often preferred choice for both interior and exterior metal doors.
One of the primary advantages of latex paint is its flexibility. Unlike oil-based paints, which can become brittle over time and crack as the metal expands and contracts with temperature changes, latex paint maintains its flexibility throughout its lifespan. This characteristic is particularly important for exterior metal doors that are exposed to wide temperature variations and direct sunlight. The flexibility of latex paint allows it to move with the metal surface without cracking, peeling, or flaking, ensuring a long-lasting and attractive finish.
Additionally, latex paint is much easier to work with than oil-based paint. It can be cleaned up with soap and water, eliminating the need for harsh chemical solvents. It dries quickly, allowing for faster project completion, and it produces significantly less odor during application, making it more comfortable to use in enclosed spaces. These practical advantages, combined with the performance improvements in modern latex formulations, make it an excellent choice for painting metal doors.
Tools and Materials You Will Need
Before you begin, gather all the tools and materials you will need for the project. Having everything on hand before you start will make the process smoother and more efficient. Here is a comprehensive list of what you will need.
For surface preparation, you will need a screwdriver or drill for removing hardware, painter's tape for masking edges and hardware, drop cloths to protect surrounding surfaces, a wire brush or sandpaper (120 to 220 grit) for roughening the surface, a degreasing cleaner or TSP (trisodium phosphate) solution for removing dirt and oils, clean rags or tack cloths for wiping down the surface, and a rust-inhibiting primer designed for metal surfaces.
For painting, you will need high-quality exterior latex paint in your chosen color, a high-density foam roller (4 to 6 inches) for smooth application, a good-quality angled brush (2 to 2.5 inches) for cutting in around panels and edges, a paint tray, and optionally, a small spray gun for a professional-level finish. For finishing touches, you will need fine-grit sandpaper (220 to 320 grit) for sanding between coats if needed, and a clear topcoat or sealer for additional protection if desired.
Step 1: Remove Hardware and Prepare the Area
The first step in painting a metal door is to remove all hardware, including the doorknob, deadbolt, hinges, knocker, peephole, and any other mounted accessories. Removing hardware ensures a clean, professional finish and prevents paint from getting on surfaces where it does not belong. If removing the hinges is not practical, you can mask them carefully with painter's tape, though removing the door from its frame and laying it flat on sawhorses will produce the best results.
If you choose to paint the door in place, protect the surrounding area with drop cloths and painter's tape. Cover the doorframe, threshold, and any glass panels or sidelights with tape and paper to prevent paint splatters. If working on an exterior door, choose a day with mild temperatures (between 50 and 85 degrees Fahrenheit), low humidity, and no rain in the forecast for optimal paint application and drying conditions.
Step 2: Clean and Degrease the Surface
A clean surface is essential for proper paint adhesion. Metal doors can accumulate dirt, dust, oils, and other contaminants that will prevent the paint from bonding properly to the surface. Start by washing the entire door with a solution of TSP or a commercial degreasing cleaner, using a sponge or clean cloth to scrub the surface thoroughly. Pay special attention to areas around the doorknob and latch, where oils from hands are most concentrated.
After washing, rinse the door thoroughly with clean water to remove all traces of the cleaning solution. Allow the door to dry completely before proceeding to the next step. Any moisture remaining on the surface can cause adhesion problems and lead to bubbling or peeling of the paint later on.
Step 3: Sand the Surface
Sanding the metal surface creates a slightly rough texture that helps the primer and paint adhere more effectively. Use 120 to 220 grit sandpaper or a sanding block to lightly scuff the entire surface of the door. You are not trying to remove all the existing paint or finish; rather, you are creating a rough profile that gives the new primer something to grip onto.
If the door has any areas of rust, use a wire brush or coarser sandpaper to remove the rust down to bare metal. Rust left under new paint will continue to spread and will eventually cause the new paint to bubble and peel. After sanding, wipe the entire door with a tack cloth or damp rag to remove all dust and debris.
Step 4: Apply Primer
Priming is a crucial step that should not be skipped when painting a metal door. A good-quality primer designed for metal surfaces provides a foundation for the topcoat, improves adhesion, prevents rust, and ensures a uniform finish. Choose a primer that is specifically formulated for use on metal and is compatible with latex topcoats.
Apply the primer using a foam roller for the flat surfaces and an angled brush for the recessed panels and edges. Work in thin, even coats, avoiding drips and runs. One coat of primer is usually sufficient, but if you are painting over a dark color or bare metal, a second coat may be needed to ensure complete and uniform coverage. Allow the primer to dry completely according to the manufacturer's instructions before proceeding to the topcoat.
Step 5: Apply Latex Paint
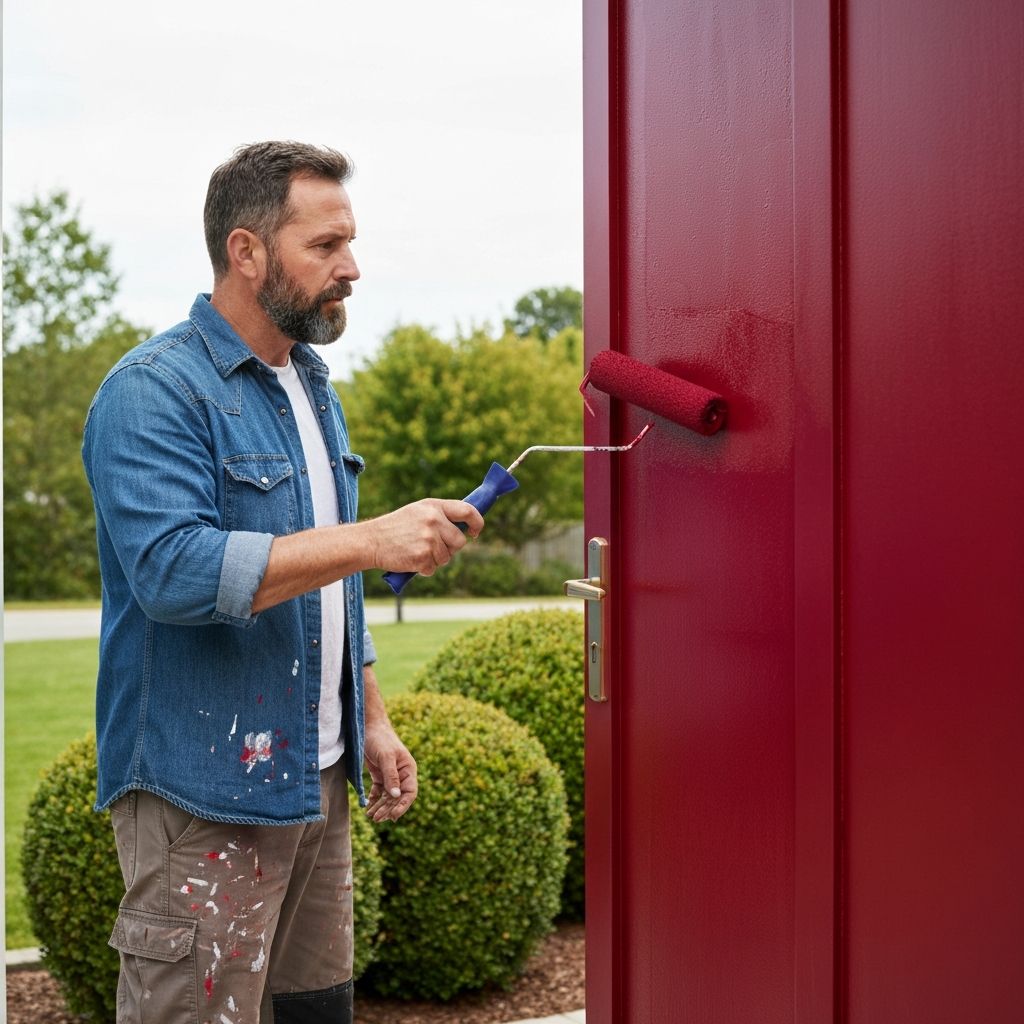
With the primer dry and the surface properly prepared, it is time to apply the latex paint. Stir the paint thoroughly before use, and pour a small amount into a paint tray. Using a high-density foam roller, apply the paint in thin, even coats, working from the top of the door to the bottom. Start with the recessed panels if the door has them, using an angled brush to cut in around the edges, and then roll the flat surfaces for a smooth, uniform finish.
Avoid the temptation to apply thick coats in an attempt to achieve full coverage in one pass. Thick coats are more prone to drips, runs, and uneven drying, which will compromise the quality of the finish. Instead, apply two to three thin coats, allowing each coat to dry completely before applying the next. Lightly sanding between coats with 220 to 320 grit sandpaper and wiping with a tack cloth will improve adhesion and create an even smoother finish.
Step 6: Reassemble and Finish
Once the final coat of paint is dry, it is time to reassemble the door. Carefully remove any remaining painter's tape, reinstall the hardware, and rehang the door if it was removed. Check the door's operation to ensure that the paint has not caused any sticking or binding at the hinges or latch. If the door sticks slightly, a light sanding along the affected edge should resolve the issue.
For added protection, especially on exterior doors that are exposed to direct sunlight and harsh weather, consider applying a clear topcoat or sealer over the latex paint. A UV-resistant clear coat will help prevent fading and extend the life of the paint job, keeping your door looking fresh and vibrant for years to come.
Common Mistakes to Avoid
Several common mistakes can undermine the quality of your metal door painting project. Skipping the cleaning and sanding steps is perhaps the most frequent error, as it leads to poor adhesion and premature paint failure. Using the wrong type of primer or skipping primer altogether is another common mistake that can result in peeling and rust bleed-through.
Applying paint in direct sunlight or extreme temperatures can cause the paint to dry too quickly, leading to brush marks, lap marks, and poor leveling. Applying coats that are too thick results in drips, runs, and uneven drying. And failing to allow adequate drying time between coats can trap moisture and solvents beneath the surface, causing bubbling and adhesion failure.
Conclusion
Painting a metal door with latex paint is a rewarding DIY project that can dramatically improve the appearance of your home while protecting the door from the elements. By following the proper preparation steps, using quality materials, and applying the paint with care and patience, you can achieve a professional-quality finish that will last for years. The key to success is preparation, patience, and attention to detail, and the result is a beautiful, durable finish that enhances your home's curb appeal and protects your investment.
