Getting Started with Jewelry Making
Jewelry making is one of the most rewarding and accessible crafts you can learn, offering endless creative possibilities and the satisfaction of wearing something you made with your own hands. Whether you want to create simple beaded necklaces, elegant wire-wrapped pendants, or intricate metalwork pieces, the journey begins with understanding the fundamental tools, materials, and techniques that form the foundation of this ancient art form.
The beauty of jewelry making as a hobby is that you can start with very minimal investment and gradually build your skills and tool collection over time. A basic beading project requires nothing more than some beads, stringing material, and a clasp, while more advanced metalsmithing requires specialized tools and equipment. This guide will walk you through everything you need to know to start creating beautiful handmade jewelry, regardless of your current skill level or budget.
Essential Tools for Beginners
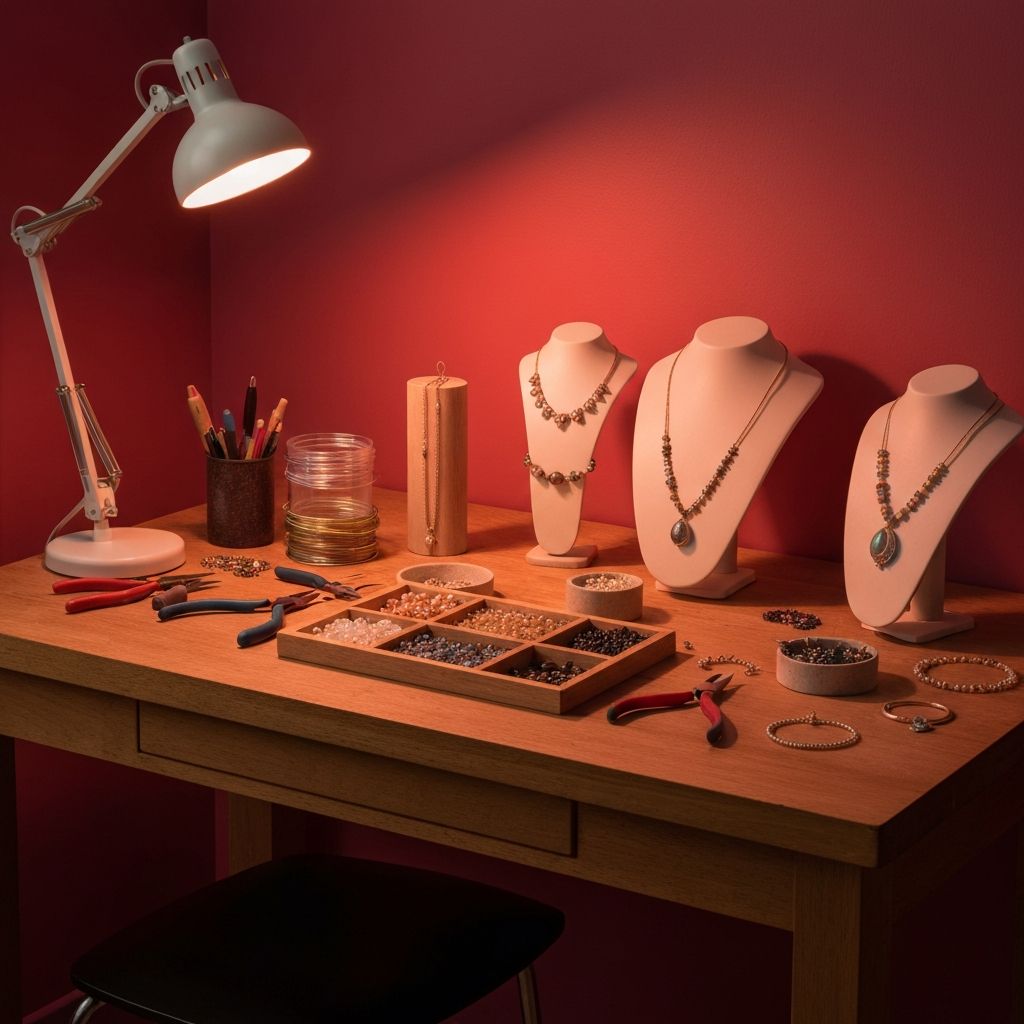
Every jewelry maker needs a core set of hand tools to get started. The three most essential pliers are round-nose pliers, chain-nose pliers, and flush cutters. Round-nose pliers have smooth, graduated conical jaws that are used for creating loops and curves in wire. Chain-nose pliers have flat, tapered jaws that are ideal for gripping, bending, and manipulating wire and small components. Flush cutters are specialized wire cutters that create a flat, clean cut on one side, which is essential for professional-looking results.
Beyond the basic pliers, you will want crimping pliers for securing crimp beads on beading wire, a bead mat or tray to prevent beads from rolling away, and a ruler or measuring tape for cutting wire and stringing material to the correct length. A pair of bent-nose pliers can be helpful for reaching into tight spaces, and a wire straightener or nylon-jaw pliers can help you smooth out kinks in wire.
As you advance, you may want to add tools like a jeweler's saw for cutting metal, a bench pin for supporting your work, files for smoothing edges, a hammer and anvil for texturing metal, and a torch for soldering. However, none of these are necessary for beginning projects, and many beautiful pieces can be created using only the basic hand tools listed above.
Beading Basics
Beading is the most beginner-friendly form of jewelry making and requires the least investment in tools and materials. The basic concept is simple: you string beads onto a stringing material and secure the ends with findings like clasps and crimp beads. The stringing material you choose depends on the type of beads you are using and the look you want to achieve.
Beading wire, such as Softflex or Beadalon, is a flexible steel cable coated in nylon that is ideal for strung necklaces and bracelets. It comes in various thicknesses measured in millimeters, with 0.019 being a good all-purpose size. Stretch cord, usually made of elastic, is perfect for making simple bracelets that slip on and off without a clasp. Nylon thread, like Nymo or Silamide, is used for more intricate bead weaving and stitching techniques.
To create a basic beaded necklace, cut a length of beading wire about 4 inches longer than your desired finished length. Thread a crimp bead onto one end, then loop the wire through a clasp and back through the crimp bead. Squeeze the crimp bead with crimping pliers to secure it. String your beads in your desired pattern, then repeat the crimping process on the other end with the other half of the clasp. Trim any excess wire with flush cutters and you have a finished necklace.
Wire Wrapping Techniques
Wire wrapping is a versatile technique that allows you to create pendants, earrings, rings, and other components without any soldering or specialized equipment. All you need is wire and pliers. The basic concept involves using wire to create frames, spirals, and wrapped loops that hold beads, stones, or other elements in place.
Start by learning to make a simple wrapped loop, which is the foundation of wire wrapping. Cut a 3-inch piece of 22-gauge wire and use round-nose pliers to create a loop about one-third of the way from one end. Wrap the short tail of wire around the base of the loop two to three times, creating a neat coil. Trim the excess tail with flush cutters. You can then thread a bead onto the remaining straight wire and create another wrapped loop on the other side, creating a bead link that can be connected to chains or other links.
Once you have mastered basic loops and wraps, you can progress to wire-wrapping cabochons and tumbled stones. This technique involves creating a wire frame that holds the stone securely while showcasing its natural beauty. It requires patience and practice but produces stunning, one-of-a-kind pendants that make wonderful gifts.
Choosing Your Materials
The materials you choose for your jewelry significantly affect both the appearance and durability of the finished piece. For wire, common options include sterling silver, gold-filled, copper, brass, and craft wire in various colors. Sterling silver and gold-filled wire produce professional-quality results but are more expensive. Copper and brass are affordable alternatives that develop a beautiful patina over time. Craft wire comes in many colors and is the most affordable option for practice and casual pieces.
For beads, the options are virtually limitless. Glass beads come in every color, shape, and size imaginable and are available at very affordable prices. Semi-precious stone beads like amethyst, turquoise, and jade add natural beauty and perceived value to your pieces. Crystal beads from manufacturers like Swarovski provide brilliant sparkle. Seed beads, which are tiny uniform beads, are essential for bead weaving techniques and come in hundreds of colors and finishes. As you develop your style, you will naturally gravitate toward certain materials and techniques that reflect your aesthetic preferences and skill level.
