The Art of Perfect Vanilla Ice Cream
Vanilla ice cream is the most popular ice cream flavor in the world, yet it is also one of the most underappreciated. Many people think of vanilla as plain or boring, but a truly well-made vanilla ice cream is anything but. When crafted with quality ingredients and proper technique, homemade vanilla ice cream delivers a complex, fragrant, and deeply satisfying flavor that puts most commercial versions to shame. The secret lies in the quality of your vanilla, the ratio of cream to milk, and the patience to prepare a proper custard base.
Making vanilla ice cream at home is more accessible than you might think. While an ice cream maker produces the best results, you can also make excellent vanilla ice cream without any special equipment using the no-churn method. In this guide, we will cover both approaches so you can choose the method that works best for your kitchen and equipment.
Choosing Your Vanilla
The vanilla you use is the single most important factor in the quality of your ice cream, and this is one area where you should not cut corners. There are three main forms of vanilla available to home cooks: vanilla beans, pure vanilla extract, and vanilla bean paste. Each has its advantages and ideal applications.
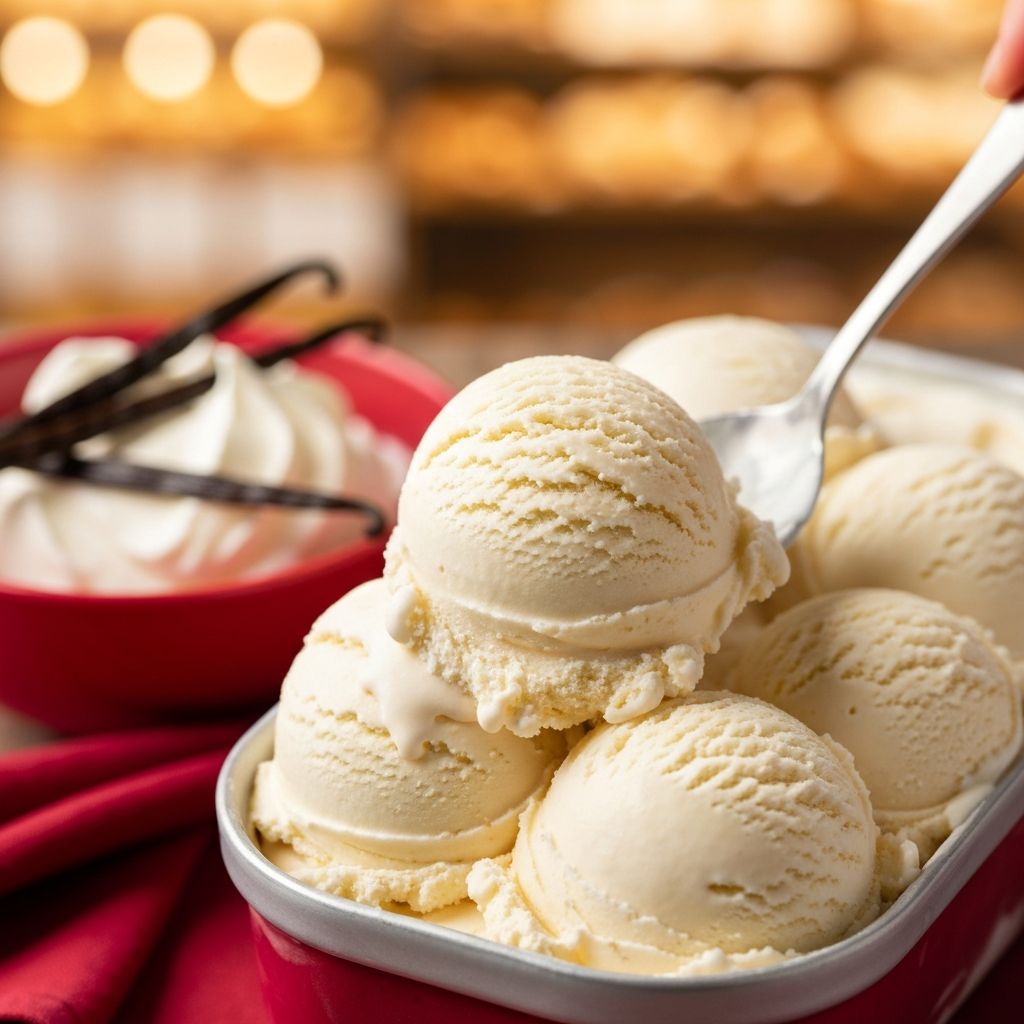
Whole vanilla beans provide the most complex, nuanced flavor and the beautiful black specks that are the visual hallmark of premium vanilla ice cream. To use a vanilla bean, split it lengthwise with a sharp knife and scrape out the tiny seeds inside using the back of the knife. Add both the seeds and the spent pod to your cream mixture during the heating step, then remove the pod before churning. Madagascar Bourbon vanilla beans are the most popular variety, offering warm, creamy, sweet notes that are considered the classic vanilla flavor.
Pure vanilla extract is the most convenient option and produces excellent results. Use at least 2 teaspoons of high-quality pure vanilla extract per batch of ice cream. Avoid imitation vanilla extract, which is made from synthetic vanillin and lacks the complex flavor profile of pure extract. Vanilla bean paste combines the convenience of extract with the visual appeal of vanilla bean seeds and is an excellent compromise between beans and extract.
Classic Churned Vanilla Ice Cream Recipe
The classic method for making vanilla ice cream involves preparing a cooked custard base, which produces the richest, smoothest, and most flavorful result. You will need 2 cups of heavy cream, 1 cup of whole milk, three-quarters cup of granulated sugar, pinch of salt, 5 large egg yolks, and your choice of vanilla flavoring. This recipe makes approximately 1 quart of ice cream.
Begin by combining the heavy cream, milk, half of the sugar, and salt in a medium saucepan. If using a vanilla bean, add the seeds and pod to the mixture. Heat over medium heat, stirring occasionally, until the mixture is hot and steaming but not boiling, about 5 minutes. Meanwhile, whisk the egg yolks with the remaining sugar in a separate bowl until pale and slightly thickened.
Slowly pour about half a cup of the hot cream mixture into the egg yolks while whisking constantly. This process, called tempering, gradually raises the temperature of the eggs without scrambling them. Pour the tempered egg mixture back into the saucepan with the remaining cream and cook over medium-low heat, stirring constantly with a spatula, until the custard thickens enough to coat the back of the spatula, about 5 to 8 minutes. The temperature should reach 170 to 175 degrees Fahrenheit.
Strain the custard through a fine-mesh sieve into a clean bowl to remove any small bits of cooked egg. Stir in vanilla extract if using. Place plastic wrap directly on the surface of the custard to prevent a skin from forming and refrigerate until completely chilled, at least 4 hours or overnight. Once chilled, churn the custard in your ice cream maker according to the manufacturer's instructions. Transfer to a freezer-safe container, press plastic wrap directly onto the surface, and freeze for at least 4 hours until firm.
No-Churn Vanilla Ice Cream Method
If you do not own an ice cream maker, the no-churn method produces surprisingly creamy results with minimal effort. This method works by folding sweetened condensed milk into whipped heavy cream, which creates a rich, smooth texture without the need for churning. You will need 2 cups of cold heavy cream, one 14-ounce can of sweetened condensed milk, 2 teaspoons of pure vanilla extract, and a pinch of salt.
Whip the cold heavy cream using an electric mixer until stiff peaks form, about 3 to 4 minutes. In a separate bowl, stir together the sweetened condensed milk, vanilla extract, and salt. Gently fold about one-third of the whipped cream into the condensed milk mixture to lighten it, then fold in the remaining whipped cream, being careful not to deflate it. The folding technique is critical because the air trapped in the whipped cream is what gives no-churn ice cream its light, scoopable texture.
Pour the mixture into a loaf pan or freezer-safe container, smooth the top, and press plastic wrap directly onto the surface. Freeze for at least 6 hours or overnight until firm. No-churn ice cream is slightly denser and sweeter than churned ice cream because of the sweetened condensed milk, but it is an excellent alternative that requires no special equipment and produces consistently delicious results.
Tips for the Creamiest Texture
Regardless of which method you choose, several tips will help you achieve the creamiest possible texture. First, make sure your base is as cold as possible before churning. A colder base freezes faster, which creates smaller ice crystals and a smoother texture. Second, do not over-churn your ice cream. It should look like soft-serve when it comes out of the machine, not hard and icy. The final firming happens in the freezer. Third, adding a tablespoon of vodka or corn syrup to your base lowers the freezing point slightly, resulting in a softer, more scoopable ice cream straight from the freezer. Finally, let your ice cream sit at room temperature for 5 to 10 minutes before scooping to allow it to temper to the ideal serving consistency.
