The Journey of Growing an Apple Tree from Seed
Growing an apple tree from seed is one of the most rewarding long-term gardening projects you can undertake. While most commercial apple trees are propagated through grafting to ensure consistent fruit quality, growing a tree from seed offers a unique experience that connects you to the fundamental biology of one of the world's most important fruit trees. The process requires patience, as seed-grown apple trees typically take six to ten years to produce their first fruit, but the journey itself teaches valuable lessons about plant biology, horticulture, and the natural world.
It is important to understand from the outset that apple trees grown from seed will not produce fruit identical to the parent apple. Apples are heterozygous, meaning each seed contains a unique genetic combination from both parent trees. The apple you grew your seed from was pollinated by a different variety, and the resulting seedling will express a random combination of traits from both parents. This genetic variability is what makes seed-grown apples an adventure in discovery rather than a predictable agricultural endeavor.
Selecting and Preparing Apple Seeds
The first step in growing an apple tree from seed is selecting healthy seeds from a ripe apple. Choose seeds from apples that were grown locally or in a climate similar to yours, as these seeds are more likely to produce trees adapted to your growing conditions. Avoid seeds from grocery store apples that were imported from distant climates, as the resulting trees may struggle with your local temperature extremes, pest pressures, and disease environments.
To extract seeds, cut the apple in half and carefully remove the brown seeds from the core. Healthy, viable seeds are plump, dark brown, and firm to the touch. Discard any seeds that are shriveled, pale, or soft, as these are unlikely to germinate successfully. Collect more seeds than you intend to grow, as not all seeds will prove viable. A starting quantity of 10-20 seeds provides a reasonable chance of producing several successful seedlings.
Rinse the extracted seeds under cool running water to remove any fruit pulp or juice that could promote fungal growth during the stratification process. Pat the seeds dry with a clean paper towel and allow them to air dry for one to two days. This brief drying period prepares the seeds for the cold stratification treatment that is essential for breaking their natural dormancy.
Cold Stratification: Breaking Dormancy
Apple seeds, like the seeds of most temperate fruit trees, require a period of cold, moist conditions before they will germinate. This requirement, called cold stratification, mimics the natural winter cycle that the seeds would experience if they fell from the tree and lay on the ground through the cold season. Without stratification, apple seeds will remain dormant indefinitely, regardless of how favorable the growing conditions might be.
To stratify apple seeds at home, moisten a paper towel or a handful of peat moss until it is damp but not dripping. Place the seeds on the moist medium, fold or wrap it around the seeds, and place the bundle inside a sealed plastic bag. Label the bag with the date and place it in your refrigerator at a temperature between 34°F and 40°F. The vegetable crisper drawer is typically the ideal location, as it maintains consistent cool temperatures without freezing.
The stratification period for apple seeds is approximately 70 to 80 days, though some varieties may require up to 120 days. Check the seeds weekly, ensuring the paper towel or peat moss remains consistently moist and looking for signs of mold or premature germination. If you notice white mold developing, rinse the seeds with a dilute hydrogen peroxide solution and replace the moistened medium. Some seeds may begin to crack open and show a small white root tip during the final weeks of stratification, indicating that they are ready for planting.
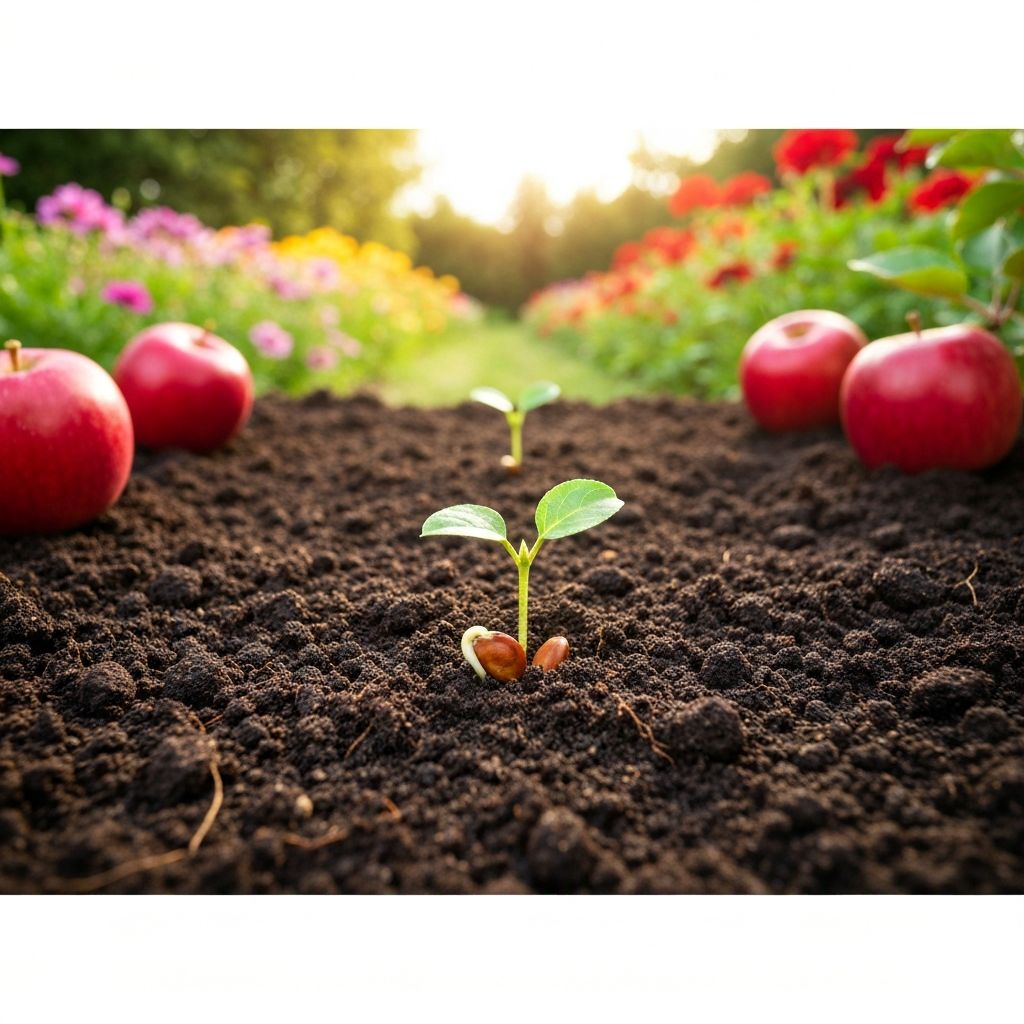
Germination and Initial Planting
Once stratification is complete, your apple seeds are ready for planting. Prepare small pots or seed-starting cells with a high-quality seed-starting mix that provides good drainage while retaining adequate moisture. Fill each container to within half an inch of the rim, moisten the mix thoroughly, and create a planting hole approximately half an inch deep using your finger or a pencil.
Place one stratified seed in each planting hole with the pointed end facing down and the rounded end facing up. Cover the seed with the moistened seed-starting mix and gently firm the surface without compacting the soil. Place the planted containers in a location that receives bright, indirect light and maintains temperatures between 65°F and 75°F. A sunny windowsill or a spot under grow lights provides ideal conditions for germination.
Keep the soil consistently moist but not waterlogged during the germination period, which typically takes two to four weeks. Overwatering is the most common cause of seedling failure, as saturated soil promotes fungal diseases like damping off that can kill emerging seedlings within days. Water when the top quarter inch of soil feels dry to the touch, using a spray bottle or gentle watering can to avoid disturbing the developing seedling.
When the first pair of true leaves appears above the cotyledons (seed leaves), the seedling has established a functional root system and is ready for more aggressive care. Begin exposing the seedling to longer periods of direct sunlight, gradually increasing from two hours to six hours over the course of a week. This hardening process prepares the seedling for the intense light conditions it will experience when transplanted outdoors.
Transplanting and Outdoor Care
Seedlings should be grown indoors or in a protected environment until they reach a height of six to twelve inches and have developed several sets of true leaves. Transplanting typically occurs in the spring after the last frost date for your growing zone, when daytime temperatures consistently reach 60°F or higher. Harden the seedlings off by placing them outdoors in a sheltered location for increasing periods over seven to ten days before planting them in their permanent location.
Select a planting site that receives at least six to eight hours of direct sunlight daily and has well-drained soil with a pH between 6.0 and 7.0. Apple trees will not thrive in waterlogged soil or deep shade. If your soil is heavy clay, amend the planting area with compost and coarse sand to improve drainage. If your soil is excessively sandy, incorporate organic matter to improve moisture retention and nutrient availability.
Dig a hole twice the width and the same depth as the seedling's root ball. Gently remove the seedling from its container, taking care not to disturb the roots more than necessary. Place the seedling in the hole at the same depth it was growing in its container, backfill with the amended native soil, and water deeply to settle the soil around the roots. Apply a two to three-inch layer of organic mulch around the base of the seedling, keeping it several inches away from the trunk to prevent moisture-related bark diseases.
Long-Term Care and Development
During the first year after transplanting, the primary goal is establishing a strong root system. Water the young tree deeply once or twice per week during dry periods, providing approximately one inch of water per week through rainfall or irrigation. Avoid fertilizing during the first year, as excessive nitrogen can promote rapid, weak growth that is susceptible to pest damage and winter injury.
Beginning in the second year, apply a balanced fertilizer in early spring as new growth begins. A 10-10-10 formulation applied at the rate specified on the package label provides adequate nutrition for young apple trees without promoting excessive vegetative growth. Discontinue fertilizer application by mid-summer to allow the tree to harden off properly before winter dormancy.
Pruning is essential for developing a strong, productive tree structure. During the first few years, focus on establishing a central leader (main trunk) with well-spaced scaffold branches arranged in a spiral pattern around the trunk. Remove any branches that cross, rub against each other, or grow inward toward the center of the tree. Winter pruning, performed while the tree is dormant, is ideal for structural cuts, while light summer pruning can manage excessive vegetative growth.
Protect young apple trees from common pests and diseases through integrated pest management practices. Deer fencing or tree guards prevent browsing damage that can kill young trees. Monitor for common apple pests including codling moth, apple maggot, and aphids. Fungal diseases such as apple scab and fire blight can be managed through proper pruning for air circulation, removal of fallen leaves, and targeted fungicide applications when conditions favor disease development.
Conclusion
Growing an apple tree from seed is a multi-year journey that rewards patience with the satisfaction of nurturing a living organism from its most fundamental beginning to a mature, fruit-bearing tree. While the fruit your tree eventually produces may differ from the apple that provided the original seed, the process of growing it teaches invaluable lessons about horticulture, biology, and the remarkable capacity of a tiny seed to become a tree that can produce fruit for decades.
