Why You Might Need to Replace a Rear Bumper Cover
The rear bumper cover is one of the most vulnerable components of any vehicle. It is the first point of contact in many low-speed collisions, parking mishaps, and fender benders. Over time, even careful drivers may find their rear bumper cover cracked, dented, scratched, or faded beyond what can be repaired with simple touch-up methods. When the damage is severe enough, replacing the entire plastic bumper cover becomes the most practical and cost-effective solution.
Modern rear bumper covers are made from thermoplastic materials, most commonly polypropylene (PP) or thermoplastic olefin (TPO). These materials are chosen for their combination of flexibility, impact resistance, and light weight. Unlike the heavy chrome steel bumpers of older vehicles, modern plastic bumper covers are designed to absorb minor impacts and spring back to their original shape. However, when the damage exceeds the material's ability to recover, replacement is the best option.
Replacing a rear bumper cover is a task that many DIY enthusiasts can accomplish at home with basic tools and moderate mechanical skill. The process typically takes a few hours and can save hundreds or even thousands of dollars compared to having the work done at a body shop. This guide will walk you through every step of the process, from selecting the right replacement part to the final installation.
Choosing the Right Replacement Bumper Cover
When shopping for a replacement rear bumper cover, you have several options. Original Equipment Manufacturer (OEM) bumper covers are made by the same company that produced the original part for your vehicle. These parts offer the best fit and quality but are typically the most expensive option. Aftermarket bumper covers are produced by third-party manufacturers and are usually significantly less expensive than OEM parts. While quality can vary, many aftermarket bumper covers offer excellent fit and finish that rivals OEM quality.
When selecting a replacement, make sure to specify the exact year, make, model, and trim level of your vehicle. Bumper cover designs can vary between trim levels of the same vehicle, so getting the correct part number is essential. Also, determine whether you need a bumper cover that is pre-primed, pre-painted, or unpainted. Pre-painted covers that match your vehicle's color can save you the time and expense of painting, but they may not always be a perfect color match due to variations in paint formulation and the effects of weathering on your vehicle's original paint.
In addition to the bumper cover itself, you may need to purchase new mounting hardware, clips, and fasteners. Many of the plastic clips and push-pin retainers used to secure bumper covers are designed for one-time use and may break during removal. Having a supply of replacement clips on hand will make the installation process smoother and ensure a secure fit.
Tools and Materials You Will Need
Before starting the replacement process, gather all the necessary tools and materials. You will need a socket set with extensions (typically 8mm, 10mm, and 12mm sockets), a Phillips and flathead screwdriver, a trim removal tool set for plastic clips, a pair of pliers, masking tape, a marker or paint pen, safety glasses, work gloves, and a creeper or cardboard to lie on if you need to work underneath the vehicle.
If you plan to paint the new bumper cover yourself, you will also need automotive primer, base coat paint in your vehicle's color code, clear coat, wet/dry sandpaper in various grits (400, 600, 1000, and 2000 grit), a tack cloth, rubbing compound, masking paper, and either spray cans or access to a spray gun and compressor for a more professional finish.
A second pair of hands is highly recommended for this job. Rear bumper covers can be awkward and heavy, making them difficult for one person to handle, especially during the alignment and installation phase. Having someone to hold the cover in position while you secure the fasteners will make the process much easier and reduce the risk of dropping or scratching the new part.
Step-by-Step Removal of the Old Bumper Cover
Begin the removal process by parking your vehicle on a flat, level surface and engaging the parking brake. If your vehicle has a rear-mounted spare tire carrier, trailer hitch, or other accessories attached to or near the bumper, remove them first to gain clear access to the bumper cover mounting points.
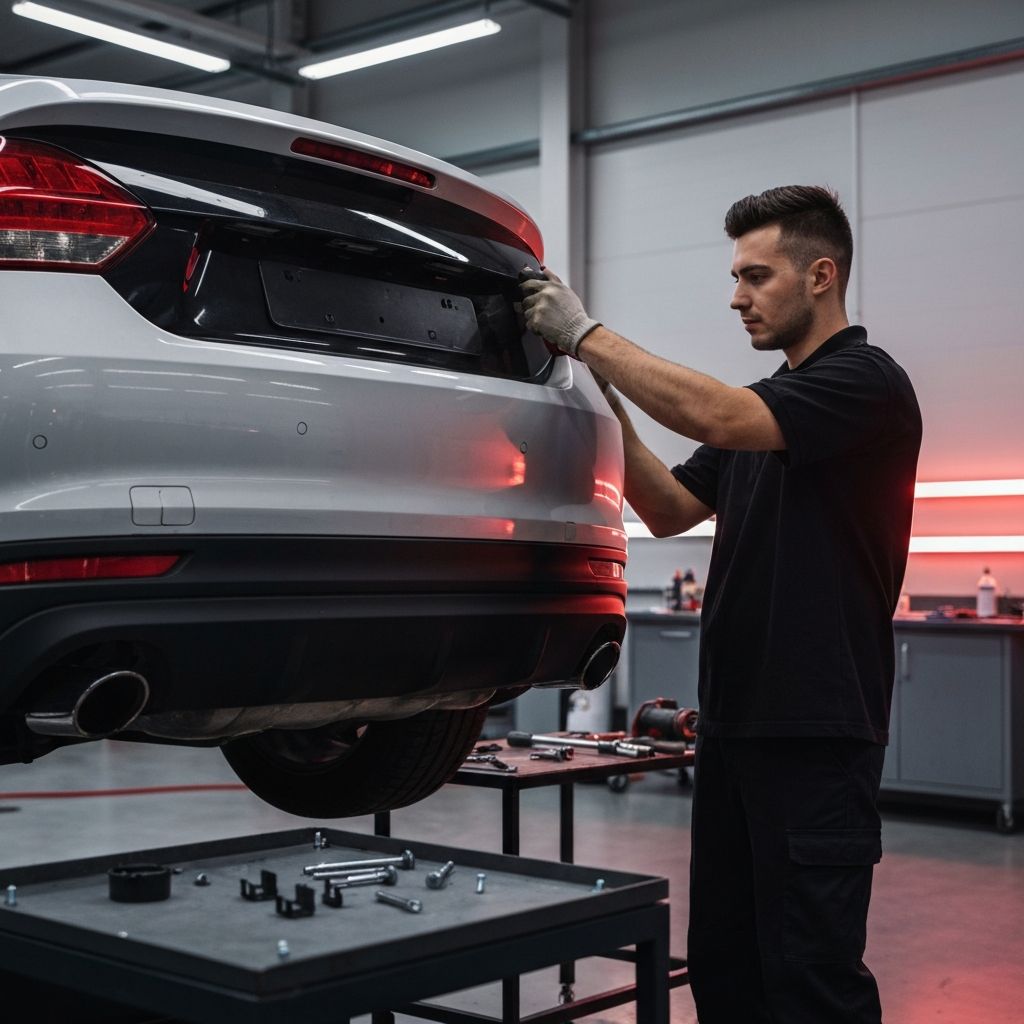
Open the trunk or hatch and look for fasteners along the upper edge of the bumper cover where it meets the trunk floor or rear body panel. These are typically Phillips head screws or plastic push-pin retainers. Remove all of them and set them aside in a labeled bag for reassembly. Next, look inside the wheel wells where the bumper cover wraps around. You will find additional screws or clips that secure the bumper cover to the fender liners. Remove these from both sides.
Move to the underside of the vehicle and locate any fasteners along the bottom edge of the bumper cover. These may be bolts, screws, or push-pin retainers that secure the lower edge of the cover to the vehicle's frame or a reinforcement bar. Remove all of them carefully. With all fasteners removed, the bumper cover should be held in place only by the friction of its mounting tabs and any wiring connections for backup sensors, cameras, or lighting.
Before pulling the cover away, check for any electrical connections. If your vehicle has a backup camera, parking sensors, or fog lights mounted in the bumper cover, disconnect the wiring harnesses before fully removing the cover. Note the routing of the wires so you can replicate it when installing the new cover. With all connections disconnected, carefully pull the bumper cover straight back and away from the vehicle. It may require some gentle wiggling to release from the mounting tabs.
Preparing the New Bumper Cover
Before installing the new bumper cover, take time to compare it with the old one. Lay them side by side and verify that all mounting holes, clip locations, and contours match. Check that openings for exhaust tips, parking sensors, backup camera, and license plate are in the correct positions. If you are using an aftermarket cover, minor fitment adjustments may be necessary.
If your new bumper cover needs to be painted, this should be done before installation. Painting a bumper cover while it is off the vehicle is much easier and produces better results than trying to paint it in place. Clean the new cover thoroughly with a wax and grease remover to ensure the primer adheres properly. Scuff the surface lightly with 400-grit sandpaper to create a mechanical bond for the primer.
Apply two to three thin coats of automotive primer, allowing appropriate drying time between coats. Once the primer is cured, wet sand with 600-grit sandpaper for a smooth surface, then clean with a tack cloth. Apply the base coat in thin, even layers, building up color gradually. After the base coat has dried, apply three to four coats of clear coat for protection and gloss. Allow the clear coat to cure for at least 24 hours before handling the cover.
Installing the New Bumper Cover
With the new bumper cover prepared, it is time for installation. If applicable, transfer any components from the old cover to the new one, including parking sensor housings, reflectors, license plate brackets, and trim pieces. Make sure all transferred components are securely fastened and properly positioned.
Reconnect any wiring harnesses for the backup camera, parking sensors, or fog lights before positioning the cover. Route the wires through the same paths used for the original cover to prevent pinching or interference. With the wiring in place, align the new bumper cover with the vehicle's body. Start by engaging the upper mounting tabs into their corresponding slots on the body panel, then work your way down and around the sides.
Once the cover is aligned, begin reinstalling the fasteners. Start with the upper edge fasteners to hold the cover in place, then work on the side fasteners in the wheel wells, and finish with the lower edge fasteners underneath the vehicle. Tighten all fasteners snugly but do not overtighten, as excessive force can crack the plastic mounting tabs or strip the fastener holes.
Post-Installation Checks and Adjustments
After all fasteners are installed, step back and inspect the bumper cover from multiple angles. Check that the gaps between the bumper cover and the adjacent body panels are even on both sides. Verify that the cover is flush with the fenders and trunk lid. If the gaps are uneven, you may need to loosen some fasteners and gently adjust the cover's position before retightening.
Test all electrical components that are mounted in or connected through the bumper cover. Check that the backup camera displays properly, that parking sensors detect objects correctly, and that any fog lights or reflectors are functioning. If you have a license plate light integrated into the bumper area, verify that it illuminates properly as well.
Finally, go for a short test drive over various road surfaces, including speed bumps and rough roads. Listen for any rattles or unusual noises that might indicate a loose fastener or improperly seated clip. After the test drive, do a final visual inspection to make sure everything remains in place and properly aligned.
Common Mistakes and How to Avoid Them
One of the most common mistakes during bumper cover replacement is breaking plastic clips and push-pin retainers. These small fasteners are designed for one-time use and become brittle with age. Always use a proper trim removal tool rather than a screwdriver to pry them out, and have replacement clips on hand. Another common mistake is failing to disconnect electrical connectors before pulling the old cover off, which can damage wiring harnesses and connectors. Always check for wiring before removing the cover.
Improper paint preparation is another frequent issue for those who choose to paint their own bumper cover. Skipping the wax and grease removal step or applying paint too thickly can result in poor adhesion, orange peel texture, or runs in the finish. Take your time with the preparation and painting process, and follow the paint manufacturer's instructions carefully for the best results.
Conclusion
Switching out the plastic in a rear bumper is a manageable DIY project that can save significant money compared to professional body shop repairs. By carefully following the steps outlined in this guide, selecting the right replacement part, and taking your time with each phase of the process, you can achieve a professional-quality result that restores your vehicle's appearance and protection. Whether you choose an OEM or aftermarket replacement, the key to success is preparation, patience, and attention to detail.
