Understanding Process Flow Diagrams in Clothing Decoration
In the fast-paced world of garment manufacturing and decoration, efficiency is everything. A process flow diagram (PFD) serves as the backbone of any well-organized clothing decoration operation, mapping out every step from initial design concept to the finished product. Whether you are running a small custom print shop or managing a large-scale embroidery operation, understanding how to create and implement a process flow diagram can dramatically improve your workflow, reduce errors, and boost overall productivity.
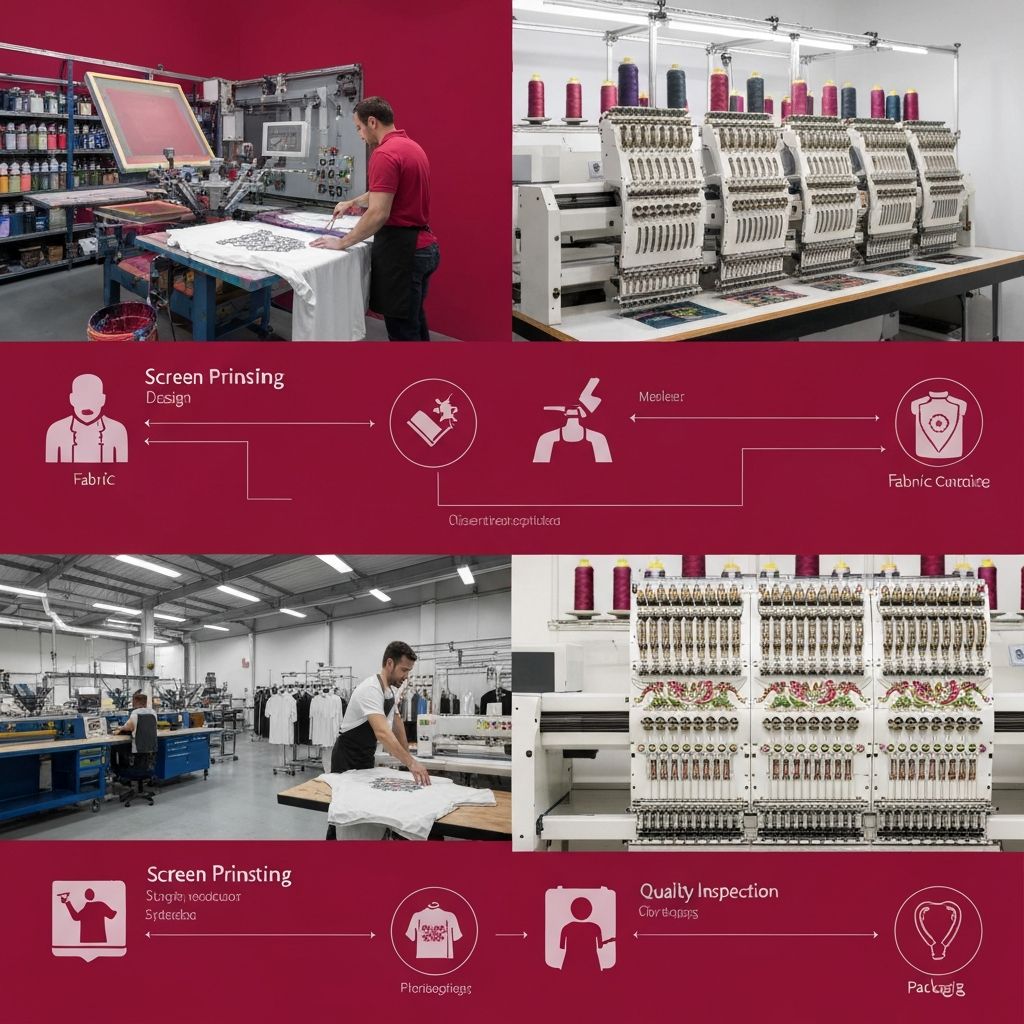
Process flow diagrams are visual representations that use standardized symbols to illustrate the sequence of steps involved in a process. In the context of clothing decoration, these diagrams help teams understand the entire production pipeline, identify bottlenecks, and optimize resource allocation. They serve as a universal language that everyone in the organization can understand, from designers to machine operators to quality control inspectors.
Key Stages in the Clothing Decoration Workflow
The clothing decoration workflow typically begins with the design phase. This is where creative teams develop artwork, select color palettes, and determine the most appropriate decoration method for the garment type. Common decoration methods include screen printing, direct-to-garment (DTG) printing, embroidery, heat transfer, sublimation, and vinyl cutting. Each method has its own set of requirements and constraints that must be accounted for in the process flow.
After the design phase comes pre-production planning. This stage involves selecting blank garments, ordering supplies, preparing screens or digitizing embroidery files, and scheduling production runs. A well-designed process flow diagram will clearly show the decision points at this stage, such as whether a design requires single-color or multi-color printing, which directly affects the production timeline and resource requirements.
The preparation stage is critical in clothing decoration. For screen printing, this involves coating screens with emulsion, exposing the design onto the screen, and washing out the stencil. For embroidery, it means digitizing the artwork and setting up the embroidery machine with the correct thread colors and tension settings. For DTG printing, preparation includes pre-treating the garment and calibrating the printer. Each of these preparation steps should be clearly documented in the process flow diagram.
Production and Quality Control Steps
The production phase is where the actual decoration takes place. In a screen printing operation, garments are loaded onto the press, ink is applied through the screens, and the prints are cured using a heat source such as a conveyor dryer. For embroidery operations, garments are hooped and loaded into the machine, and the design is stitched according to the digitized file. DTG printing involves placing the garment on the printer platen, printing the design, and curing the ink.
Quality control checkpoints should be embedded throughout the process flow diagram, not just at the end. Inline quality checks might include verifying print registration, checking thread tension and density in embroidery, or ensuring color accuracy in DTG prints. These checkpoints help catch defects early in the production process, reducing waste and rework costs.
Post-production steps include removing any backing or stabilizer materials, folding or hanging the decorated garments, and performing a final quality inspection. The process flow diagram should also include packaging and shipping steps, as well as any returns or rework procedures.
Creating an Effective Process Flow Diagram
When creating a process flow diagram for your clothing decoration workflow, start by identifying all the major process steps. Use standard flowchart symbols: rectangles for process steps, diamonds for decision points, ovals for start and end points, and arrows to show the direction of flow. Color coding can be particularly helpful in clothing decoration workflows, where multiple decoration methods may be used simultaneously.
Software tools like Microsoft Visio, Lucidchart, or even free alternatives like draw.io can be used to create professional process flow diagrams. Many garment decoration businesses also use specialized production management software that includes built-in workflow visualization tools. The key is to keep the diagram clear, concise, and easily accessible to all team members.
It is important to involve team members from every stage of the production process when creating the flow diagram. Machine operators, designers, quality control inspectors, and shipping personnel all have unique insights into the workflow that can help identify inefficiencies and improvement opportunities. Regular reviews and updates to the process flow diagram ensure it remains accurate and relevant as your operation evolves.
Benefits of Implementing a Workflow Diagram
Implementing a well-designed process flow diagram in your clothing decoration business offers numerous benefits. First, it provides clarity and consistency across the organization. New employees can quickly understand the production process by reviewing the diagram, reducing training time and the likelihood of errors.
Second, process flow diagrams help identify bottlenecks and inefficiencies. By mapping out every step in the workflow, you can see where delays occur and take corrective action. For example, you might discover that the screen preparation stage is consistently holding up production, indicating a need for additional screens or equipment.
Third, these diagrams facilitate continuous improvement. By documenting the current state of your workflow, you create a baseline against which improvements can be measured. Lean manufacturing principles such as value stream mapping can be applied to the process flow diagram to identify and eliminate waste throughout the production process.
Common Challenges and Solutions
One common challenge in clothing decoration workflows is managing multiple orders with different decoration methods simultaneously. A process flow diagram can help by clearly showing how different production paths diverge and converge. For example, orders requiring both screen printing and embroidery can be routed through the appropriate production lines and then merged at the quality control and packaging stages.
Another challenge is maintaining consistency across production runs. The process flow diagram should include standardized procedures for each step, including machine settings, ink formulations, and quality specifications. This documentation ensures that every operator follows the same procedures, resulting in consistent output regardless of who is running the equipment.
Managing rush orders is another area where a process flow diagram proves invaluable. By clearly showing the standard workflow, managers can identify where rush orders can be inserted without disrupting the overall production schedule. Priority flags and expedited paths can be incorporated into the diagram to handle these situations effectively.
Conclusion
A well-designed process flow diagram is an essential tool for any clothing decoration business looking to optimize its workflow, reduce errors, and improve overall efficiency. By mapping out every step in the production process, from design to delivery, you create a clear roadmap that guides your team through even the most complex decoration projects. Invest the time in creating and maintaining your process flow diagram, and you will see significant improvements in productivity, quality, and customer satisfaction.
