Understanding Shower Drain Plumbing
Plumbing a shower drain is one of the most critical steps in a bathroom renovation or new construction project. A properly installed shower drain ensures efficient water removal, prevents leaks that can cause costly water damage, and meets building code requirements for health and safety. While the task may seem intimidating to homeowners without plumbing experience, understanding the components, principles, and steps involved can make the process manageable even for experienced DIY enthusiasts.
A shower drain system consists of several key components that work together to remove wastewater from the shower and direct it to the main drain line. These components include the drain body, which sits in the shower floor; the drain grate or cover, which prevents debris from entering the drain; the P-trap, which holds water to prevent sewer gases from entering the bathroom; and the drain pipe, which connects the P-trap to the main drain line.
Tools and Materials Needed
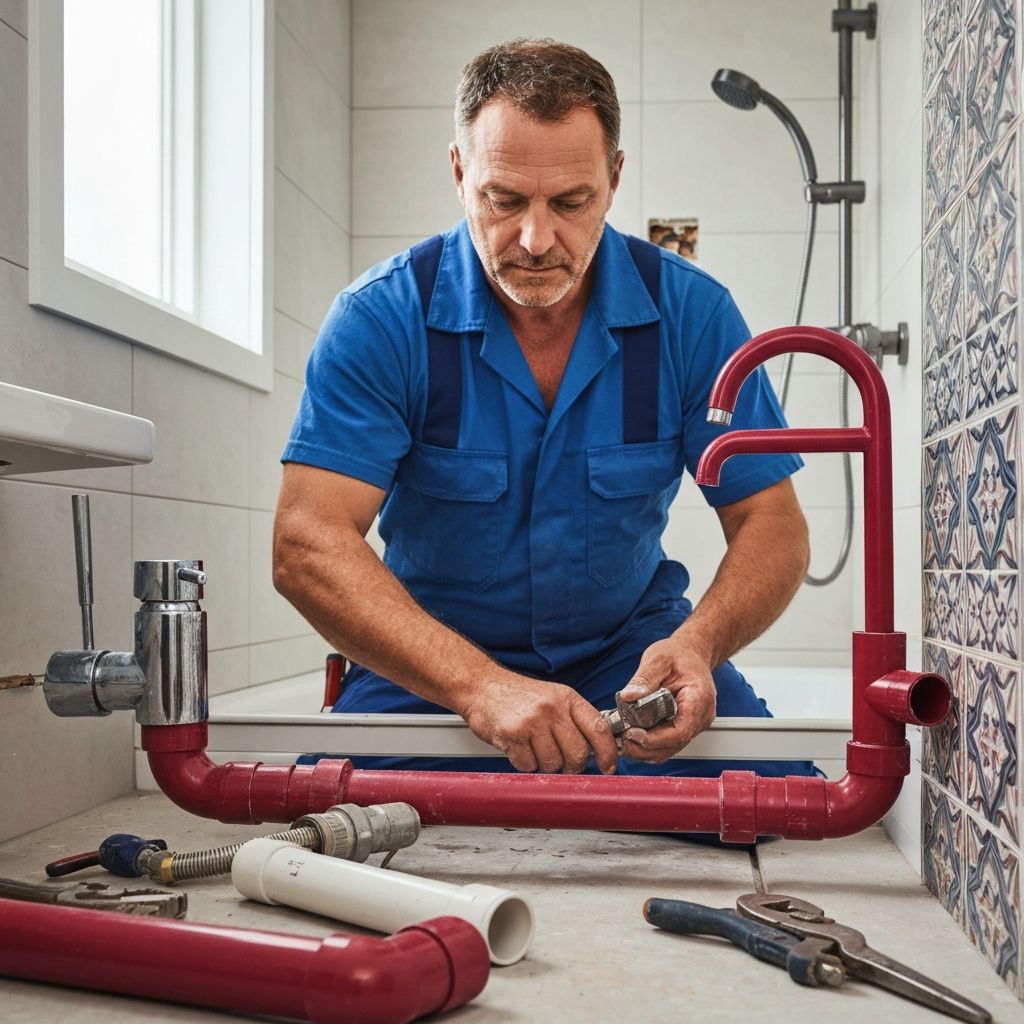
Before you begin plumbing a shower drain, gather all the necessary tools and materials. You will need a shower drain assembly appropriate for your shower type, PVC or ABS drain pipe in the correct diameter (typically 2 inches for shower drains), a P-trap, pipe fittings including couplings, elbows, and adapters, PVC or ABS cement and primer, a hacksaw or PVC pipe cutter, a level, a measuring tape, a marker, and plumber's putty or silicone sealant.
Additional tools that may be needed depending on your specific installation include a reciprocating saw for cutting through framing or subfloor, a drill with hole saw attachments, a wrench for tightening fittings, and a torpedo level for checking pipe slope. Having all materials on hand before starting will prevent interruptions and allow you to complete the project more efficiently.
Planning the Drain Layout
Proper planning is essential for a successful shower drain installation. Before cutting any pipes or making any connections, you need to determine the location of the drain, the path of the drain pipe to the main drain line, and the required pipe slope for proper drainage.
Building codes in most jurisdictions require that shower drain pipes have a minimum slope of one-quarter inch per foot toward the main drain line. This slope ensures that wastewater flows freely through the pipe by gravity and does not pool or stagnate in the line. Use a level and measuring tape to plan the pipe route and verify that the required slope can be achieved throughout the entire run.
The location of the drain in the shower floor is typically centered or positioned to align with the main drain line below. If you are installing a shower in a location that does not have existing drain plumbing, you will need to connect the shower drain to the nearest main drain line, which may require routing pipes through the floor joists or walls.
Check your local building codes and permit requirements before beginning the project. Many jurisdictions require a plumbing permit for new drain installations, and the work may need to be inspected before it can be covered up. Understanding and following code requirements from the beginning will save you time and money and ensure that your installation is safe and legal.
Installing the P-Trap
The P-trap is a curved section of pipe that holds a small amount of water at all times, creating a seal that prevents sewer gases from traveling back up through the drain and into the bathroom. The P-trap is a required component of every shower drain installation and must be installed correctly for the system to function properly.
The P-trap is typically installed directly below the shower drain body, as close to the drain as possible. Building codes generally require that the P-trap be within a certain distance of the fixture, usually no more than 48 to 60 inches measured from the drain outlet to the weir of the trap. The trap must also be accessible for cleaning and maintenance, though many codes allow the trap to be concealed within the floor structure as long as it can be accessed through a nearby cleanout.
Connect the P-trap to the shower drain body using the appropriate fittings. If you are using PVC pipe, apply PVC primer to both the pipe and the fitting, then apply PVC cement and join the pieces together with a quarter turn to ensure a solid bond. Hold the joint in place for several seconds to allow the cement to set. If you are using ABS pipe, use ABS cement without primer, as ABS does not require priming.
Ensure that the P-trap is oriented correctly, with the inlet side connected to the shower drain and the outlet side connected to the drain pipe leading to the main line. The trap should be level or have a very slight slope toward the outlet side to facilitate drainage.
Connecting to the Main Drain Line
After installing the P-trap, you need to connect the drain pipe from the P-trap outlet to the main drain line. This connection should maintain the required slope of one-quarter inch per foot throughout the entire run. Use a level to check the slope as you work, and adjust the pipe supports or hangers as needed to maintain consistent slope.
Route the drain pipe through the floor joists or along the underside of the subfloor, using pipe straps or hangers to support the pipe and maintain the correct slope. Avoid sharp bends or excessive fittings in the drain line, as these can impede water flow and create blockages. Use long-sweep elbows instead of standard 90-degree elbows whenever possible, as they provide a smoother flow path for wastewater.
When connecting the shower drain pipe to the main drain line, use a wye or sanitary tee fitting oriented in the direction of flow. The connection should be made with the appropriate cement and primer for the pipe material. If you are connecting PVC pipe to an existing cast iron or copper main drain line, you may need a transition coupling or adapter to make a proper connection.
Installing the Drain Body and Grate
With the below-floor plumbing complete, the next step is installing the drain body in the shower floor. The drain body must be set at the correct height to align with the finished shower floor surface. If you are installing a traditional mortar bed shower floor, the drain body is typically set before the mortar is applied, and the top of the drain is adjusted to be flush with the finished tile surface.
Apply plumber's putty or silicone sealant around the flange of the drain body to create a watertight seal between the drain and the shower pan or liner. Tighten the drain body according to the manufacturer's instructions, being careful not to over-tighten, which can crack the shower pan or deform the drain body.
After the shower floor is completed and the tile or other finish is installed, install the drain grate or cover. Most drain grates simply snap or screw into place over the drain body. Ensure that the grate sits flush with the finished floor surface and that there are no gaps or raised edges that could create a tripping hazard or allow water to seep under the floor finish.
Testing the Drain System
Before closing up the walls and finishing the bathroom, thoroughly test the drain system for leaks. Fill the shower pan with water to the level of the threshold and let it sit for at least 15 to 30 minutes, checking all connections and the pan itself for any signs of leakage. Some installers use a test plug to fill the drain line with water and check for leaks at the pipe joints.
Run water through the drain at various flow rates to verify that it drains quickly and completely without any pooling or slow drainage. Check the P-trap and all visible joints for drips or moisture. If any leaks are found, disassemble the affected joints, clean and re-cement them, and test again.
If your local building code requires a plumbing inspection, schedule it at this stage before covering the plumbing with finish materials. The inspector will verify that the installation meets code requirements, including pipe size, slope, trap configuration, and venting. Passing the inspection ensures that your work is safe, legal, and built to last.
Common Mistakes to Avoid
There are several common mistakes that can compromise a shower drain installation. One of the most frequent is failing to maintain proper pipe slope, which can cause slow drainage and standing water in the pipe. Always use a level to verify slope during installation.
Another common mistake is using the wrong pipe size. Most building codes require a minimum 2-inch drain pipe for showers, and using a smaller pipe can cause drainage problems and code violations. Using incompatible pipe materials or cements can also lead to joint failures and leaks.
Forgetting to install or improperly installing the P-trap is a serious mistake that can allow sewer gases to enter the bathroom, creating unpleasant odors and potential health hazards. Always ensure the P-trap is correctly installed and oriented, and verify that it maintains a water seal after installation.
By following these guidelines and taking the time to plan and execute each step carefully, you can successfully plumb a shower drain that provides reliable, leak-free drainage for years to come.
