What Is Mochi Ice Cream?
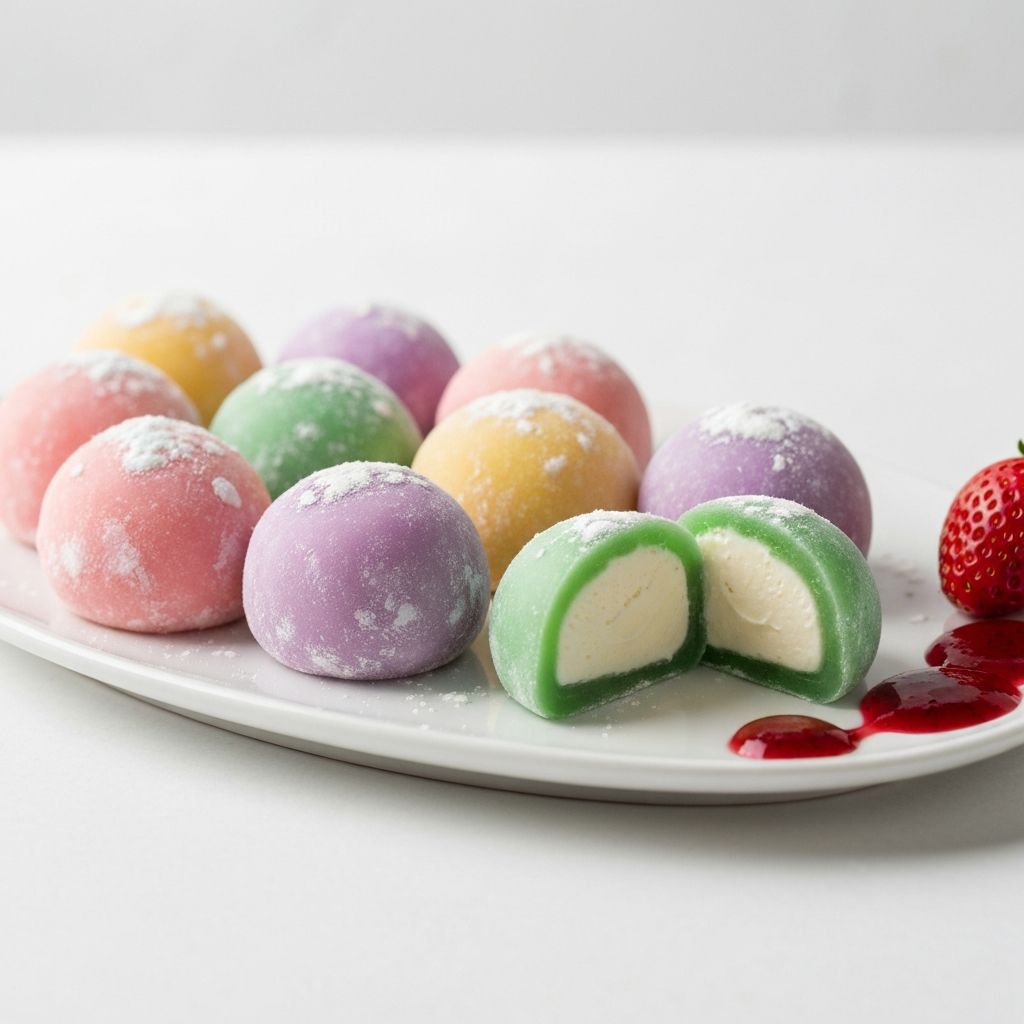
Mochi ice cream is a beloved Japanese-inspired dessert that combines two irresistible textures: soft, chewy mochi rice cake on the outside and cold, creamy ice cream on the inside. Originally popularized in Japan and later introduced to the American market by the brand My/Mo Mochi Ice Cream, this treat has become a global sensation. The contrast between the pillowy, slightly sticky mochi wrapper and the smooth ice cream filling creates a unique eating experience that is both satisfying and addictive.
Making mochi ice cream at home might seem intimidating at first, but it is actually a straightforward process that requires only a few simple ingredients and some patience. The key to success lies in preparing the mochi dough to the right consistency and working quickly when wrapping the ice cream to prevent it from melting. With a little practice, you can create beautiful, professional-looking mochi ice cream in any flavor you desire.
Ingredients You Will Need
The beauty of mochi ice cream is its simplicity. You need just a handful of ingredients to create the mochi wrapper, and the ice cream filling can be any flavor you choose. For the mochi dough, you will need one cup of glutinous rice flour, also known as mochiko or sweet rice flour. This is not the same as regular rice flour, so make sure you purchase the correct product. Glutinous rice flour is what gives mochi its characteristic chewy, stretchy texture.
You will also need one cup of water, one-third cup of granulated sugar, and a pinch of salt. If you want to add color to your mochi, you can use food coloring or natural colorants like matcha powder for green, beet powder for pink, or cocoa powder for chocolate. For dusting, you will need cornstarch or potato starch to prevent the mochi from sticking to your hands and work surface.
For the ice cream filling, choose about one pint of your favorite ice cream. Popular flavors for mochi ice cream include vanilla, strawberry, mango, green tea, chocolate, and cookie dough, but you can use literally any flavor you like. The most important thing is that the ice cream is firm and well-frozen before you begin wrapping.
Step 1: Prepare the Ice Cream Balls
Before you even start making the mochi dough, you need to prepare your ice cream balls. This step should be done at least two hours before you plan to assemble the mochi ice cream, though doing it the night before is even better. Line a baking sheet or plate with parchment paper and use an ice cream scoop or tablespoon to create small balls of ice cream, about one and a half inches in diameter.
Place the ice cream balls on the prepared baking sheet and freeze them until they are rock solid, at least two hours or overnight. The ice cream needs to be extremely firm to withstand the warmth of the mochi dough during wrapping. If the ice cream is too soft, it will melt and make the wrapping process nearly impossible. This is the single most important tip for making mochi ice cream successfully.
If you find it difficult to scoop neat balls, you can also use a silicone mold or even a mini muffin tin to shape your ice cream. Fill each cavity with ice cream, smooth the top, and freeze until solid. This method gives you more uniform shapes and can be easier than scooping, especially with harder ice cream flavors.
Step 2: Make the Mochi Dough
There are two main methods for making mochi dough: the microwave method and the stovetop method. Both produce excellent results, but the microwave method is faster and easier for beginners. To use the microwave method, combine the glutinous rice flour, sugar, and salt in a microwave-safe bowl and whisk to combine. Add the water and stir until smooth. If using food coloring, add it now.
Cover the bowl with plastic wrap, leaving a small vent for steam to escape, and microwave on high for two minutes. Remove the bowl, stir the mixture vigorously with a wet spatula or wooden spoon, and microwave for another one to two minutes. The dough should be translucent, very sticky, and stretchy. If it still looks opaque and floury, microwave for an additional thirty seconds to one minute.
For the stovetop method, combine all the dough ingredients in a nonstick saucepan and stir over medium heat. Cook, stirring constantly, until the mixture thickens and becomes translucent, about five to ten minutes. The stovetop method requires more active attention but gives you more control over the cooking process. Regardless of which method you use, the dough should be smooth, stretchy, and slightly translucent when done.
Step 3: Roll Out and Cut the Mochi
Generously dust a clean work surface with cornstarch or potato starch. Turn the hot mochi dough out onto the dusted surface and dust the top with more starch. The dough will be very hot, so let it cool for a minute or two before handling. Using a rolling pin dusted with starch, roll the mochi out to about one-eighth inch thickness. Try to keep the thickness as even as possible for uniform wrapping.
Use a round cookie cutter about three to four inches in diameter to cut circles from the rolled mochi. If you do not have a cookie cutter, you can use the rim of a large glass or a bowl. You should get about eight to twelve circles depending on how thin you rolled the dough. Gather the scraps, re-roll, and cut additional circles to minimize waste.
Keep the mochi circles covered with plastic wrap while you work to prevent them from drying out. If the mochi becomes too sticky at any point, dust it with more starch. If it becomes too dry or stiff, you can microwave it for a few seconds to soften it. The mochi should be pliable enough to stretch around the ice cream ball without tearing.
Step 4: Wrap the Ice Cream
Now comes the fun part: assembling your mochi ice cream. Work quickly during this step, as the ice cream will begin to soften as soon as it comes out of the freezer. Remove three or four ice cream balls from the freezer at a time, keeping the rest frozen. Place one frozen ice cream ball in the center of a mochi circle.
Gently stretch the edges of the mochi up and around the ice cream ball, pinching the edges together at the top to seal. The mochi should stretch easily around the ice cream without tearing. If it tears, the circle may be too thin or the ice cream ball may be too large. Twist the excess mochi at the top to create a clean seal and place the finished mochi ice cream ball, seam side down, on a parchment-lined plate.
Repeat with the remaining ice cream balls and mochi circles, working quickly and returning assembled mochi ice cream to the freezer immediately. Once all the mochi ice cream balls are assembled, freeze them for at least one hour before serving. This allows the mochi to firm up and the ice cream to re-freeze completely.
Tips for Perfect Mochi Ice Cream
There are several tips that can help you achieve professional results with your homemade mochi ice cream. First, do not skip the pre-freezing step for the ice cream balls. This is the most critical factor in success. Second, work in small batches when wrapping to prevent the ice cream from melting. Third, keep your hands lightly dusted with starch to prevent the mochi from sticking.
If you want to add extra flavor to the mochi wrapper itself, you can incorporate matcha powder, cocoa powder, or freeze-dried fruit powder into the dough. Start with one to two teaspoons and adjust to taste. You can also add a small amount of extract, such as vanilla or almond, to the dough for a subtle flavor boost.
Homemade mochi ice cream can be stored in the freezer in an airtight container for up to two weeks. Let the mochi ice cream sit at room temperature for two to three minutes before eating to allow the mochi to soften slightly. The mochi should be chewy and pliable, not hard and frozen. This brief tempering period makes a big difference in the eating experience and is the secret to achieving that perfect mochi texture.
