What Is Screen Printing?
Screen printing, also known as silk screening or serigraphy, is a versatile printing technique that uses a mesh screen, stencil, and ink to transfer designs onto a variety of surfaces, including fabric, paper, wood, metal, and plastic. It is one of the oldest and most widely used printing methods, valued for its ability to produce vibrant, durable prints with consistent quality across large production runs.
Screen printing is used in a wide range of applications, from custom t-shirts and apparel to fine art prints, posters, signage, and industrial products. Whether you are an artist looking to create limited edition prints, an entrepreneur starting a custom apparel business, or a hobbyist exploring a new creative medium, learning the fundamentals of screen printing will open up a world of possibilities.
Materials and Equipment You Will Need
Before you begin screen printing, you will need to gather the essential materials and equipment. The basic supplies include a screen frame with mesh, a squeegee, screen printing ink, a photo emulsion kit, a light source for exposing the screen, a washout area or sink, and the substrate you want to print on, such as t-shirts, tote bags, or paper.
Screen frames are available in various sizes and mesh counts. The mesh count refers to the number of threads per inch and affects the level of detail and the amount of ink that passes through the screen. Lower mesh counts, such as 110 threads per inch, allow more ink through and are suitable for bold designs on fabric. Higher mesh counts, such as 230 threads per inch, produce finer detail and are better for detailed designs on paper or smooth surfaces.
The squeegee is used to push ink through the screen and onto the substrate. Squeegees come in different sizes and durometer ratings, which measure the hardness of the rubber blade. A softer blade deposits more ink and is better for textured surfaces, while a harder blade deposits less ink and produces sharper detail.
Screen printing inks come in two main types: water-based and plastisol. Water-based inks absorb into the fabric, creating a softer feel, while plastisol inks sit on top of the fabric and produce a more opaque, vibrant print. Each type has its advantages, and the best choice depends on the substrate, desired finish, and the complexity of the design.
Preparing Your Design
The first step in the screen printing process is creating or selecting a design to print. Screen printing works best with bold, high-contrast designs that have clear lines and solid areas of color. Each color in your design will require a separate screen, so keep this in mind when planning your artwork. Simple one-color designs are the easiest to print and are ideal for beginners.
Once you have your design, you need to create a film positive, which is a transparent sheet with your design printed in solid black. This can be done by printing your design onto transparency film using an inkjet printer or by having a film positive made at a print service. The black areas of the film positive will block light during the screen exposure process, creating the stencil on the screen.
For multi-color designs, you will need to create a separate film positive for each color and register them so they align correctly when printed. Registration marks can help ensure accurate alignment between colors.
Coating and Exposing the Screen
With your design prepared, the next step is coating the screen with photo emulsion. Photo emulsion is a light-sensitive chemical that hardens when exposed to ultraviolet light. In a dimly lit room, apply a thin, even coat of emulsion to both sides of the screen using a scoop coater or squeegee. Allow the coated screen to dry completely in a dark, dust-free environment, which usually takes one to two hours or can be accelerated with a fan.
Once the emulsion is dry, place your film positive on the screen with the design side against the mesh. Place a piece of glass or clear acrylic on top to ensure the film is in firm contact with the screen. Then, expose the screen to a UV light source for the recommended amount of time, which varies depending on the type of emulsion and the intensity of the light. Typical exposure times range from 2 to 15 minutes.
After exposure, wash the screen with water. The areas of emulsion that were blocked by the black areas of the film positive will wash away, leaving open mesh in the shape of your design. The exposed areas of emulsion will have hardened and will remain on the screen, creating the stencil. Allow the screen to dry completely before printing.
Setting Up and Printing
Before printing, set up your printing area with a flat, stable surface. If printing on fabric, a printing press or a simple hinged setup with a flat board works well. Secure the substrate to the printing surface using spray adhesive or a pallet with adhesive to prevent it from shifting during printing.
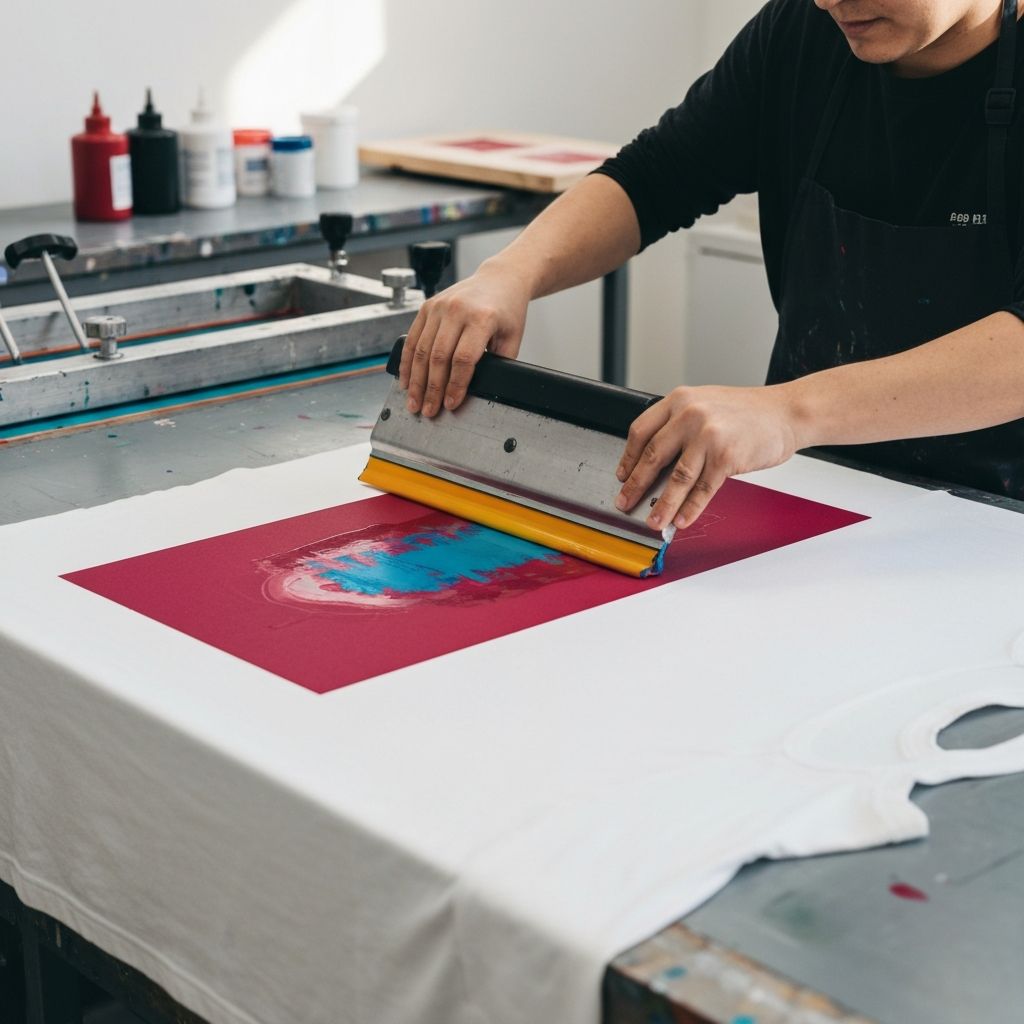
Place the prepared screen on top of the substrate, positioning the design where you want it to appear. Pour a line of ink across the top of the screen, above the design area. Hold the squeegee at a 45-degree angle and pull it firmly across the screen in a smooth, continuous stroke, applying even pressure. This forces the ink through the open areas of the mesh and onto the substrate below.
Lift the screen carefully to reveal the print. Examine the print for consistency, coverage, and detail. If the print is uneven or light, you may need to apply a second pass or adjust your squeegee pressure and angle. For multi-color prints, allow each color to dry before applying the next to prevent smearing and color mixing.
Curing the Print
After printing, the ink needs to be cured to ensure it is permanent and washable. The curing process varies depending on the type of ink used. Plastisol inks require heat curing, typically at 320 degrees Fahrenheit for 30 to 60 seconds. This can be done using a heat press, conveyor dryer, or even a household iron for small projects.
Water-based inks can be air-dried or heat-set. Air drying takes longer, usually 24 to 72 hours, while heat setting can be done with a heat press or dryer. Proper curing is essential for the longevity of the print, so be sure to follow the ink manufacturer's recommendations for temperature and time.
Cleaning and Maintaining Your Equipment
After completing your print run, clean your screens, squeegees, and other equipment promptly. Remove excess ink from the screen and reclaim it by applying a screen cleaning solution or emulsion remover. Wash the screen thoroughly with water, and inspect it for any remaining emulsion or ink residue. Properly cleaned screens can be reused many times, making them a cost-effective investment.
Store your screens in a dry, dust-free environment to prevent damage to the mesh. Keep your squeegees clean and stored flat or upright to maintain the integrity of the rubber blade. With proper care and maintenance, your screen printing equipment will last for years and produce consistent, high-quality results.
