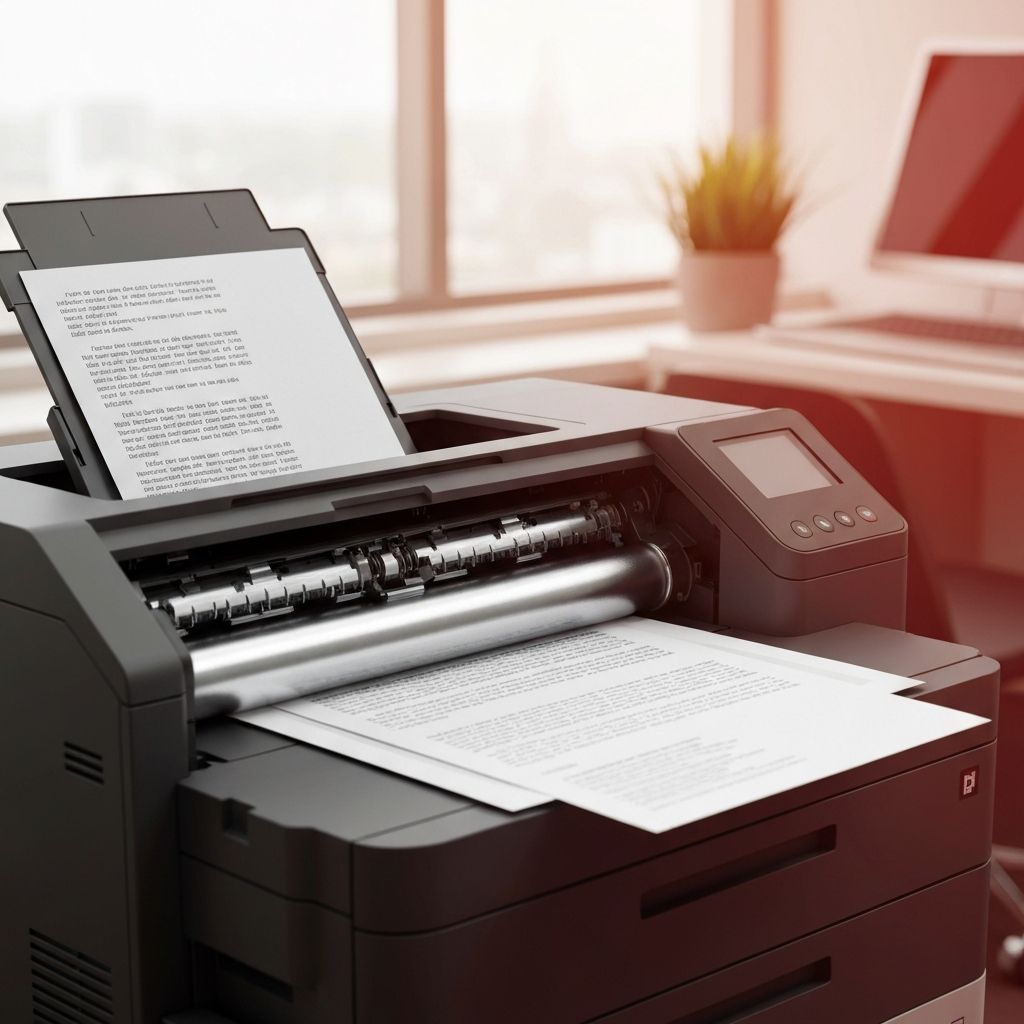
How the Drum Unit Affects Print Quality
Yes, a drum unit can absolutely make your prints lighter in a laser printer. The imaging drum, also known as the photoconductor or OPC drum, is one of the most critical components in the laser printing process. It works in conjunction with the toner cartridge to transfer toner powder onto paper, creating the text and images you see on your printed documents. When the drum begins to wear out or becomes damaged, one of the most common symptoms is lighter, faded, or uneven print output.
Understanding how the drum functions within the printing process is essential for diagnosing and resolving print quality issues. The drum is a cylindrical component coated with a photosensitive material that reacts to the laser beam inside the printer. During the printing process, the laser writes the image or text onto the drum's surface by altering the electrical charge on specific areas. Toner particles are then attracted to these charged areas and transferred onto the paper as it passes through the printer.
Signs That Your Drum Is Causing Light Prints
Several indicators can help you determine whether the drum is the source of your light print problem. The most obvious sign is a gradual, consistent fading of print quality over time. Unlike toner-related issues, which tend to produce specific patterns of fading, a worn drum typically causes an overall reduction in print density that affects the entire page uniformly.
Other signs of drum wear include gray or hazy backgrounds on printed pages, repetitive marks or streaks that appear at regular intervals on the page, and ghost images where faint copies of previously printed content appear on subsequent pages. If you notice any of these symptoms along with lighter prints, the drum is likely the culprit.
Some laser printers have a drum life indicator or counter that tracks the number of pages printed on the current drum. When this counter reaches its limit, the printer may display a warning message indicating that the drum needs to be replaced. However, actual drum life can vary depending on printing conditions, and the drum may wear out before or after the estimated life count is reached.
Why Drums Wear Out Over Time
The photosensitive coating on the drum surface is designed to withstand a specific number of printing cycles, after which it begins to degrade. Most drum units are rated for between 12,000 and 50,000 pages, depending on the printer model and manufacturer. As the drum is used, the photosensitive layer gradually wears thin, reducing its ability to hold an electrical charge effectively.
When the drum cannot maintain a proper charge, it attracts less toner to its surface during the printing process. This results in less toner being transferred to the paper, which produces lighter, less defined prints. The wear is typically more pronounced in areas of the drum that are used most frequently, which is why you might notice uneven fading across the page.
Environmental factors can also accelerate drum wear. Exposure to light, especially direct sunlight, can damage the photosensitive coating. High humidity can cause moisture to affect the drum surface, while very dry conditions can increase static electricity and accelerate wear. Storing drum units in their original packaging and keeping them away from light sources when not in use can help extend their lifespan.
Drum vs. Toner: Identifying the Real Problem
One of the challenges in diagnosing light print issues is distinguishing between drum-related problems and toner-related problems. Both can cause lighter prints, but they require different solutions. Toner-related issues are typically caused by low toner levels in the cartridge, and the solution is simply to replace or refill the toner cartridge.
To determine whether the drum or the toner is causing your light prints, try these diagnostic steps. First, remove the toner cartridge and gently shake it from side to side to redistribute the remaining toner. If this temporarily improves print quality, the issue is likely low toner rather than a drum problem. If shaking the toner has no effect, the drum is more likely the cause.
Another test is to examine the drum surface directly. Remove the drum unit from the printer according to the manufacturer's instructions and carefully inspect the surface. A healthy drum should have a smooth, uniform appearance. If you notice scratches, scuff marks, white spots, or areas where the coating appears worn or uneven, the drum needs to be replaced.
You can also print a test page or a diagnostic page from your printer's menu. Many printers have built-in test patterns that can help identify whether print quality issues are related to the drum, the toner, the fuser, or other components.
How to Replace a Worn Drum Unit
Replacing a drum unit is a straightforward process that most users can handle without professional assistance. The exact procedure varies by printer model, but the general steps are similar across most laser printers. Start by turning off the printer and opening the front or top cover as directed in your printer's user manual.
Carefully remove the old drum unit, being mindful not to touch the drum surface with your fingers. The oils from your skin can damage the photosensitive coating on a new drum. If the drum and toner are separate components in your printer, you may need to detach the toner cartridge from the drum assembly before removing the drum.
Unpack the new drum unit and remove any protective packaging, tape, or covers. Avoid exposing the drum to direct light for extended periods, as this can damage the photosensitive coating. Install the new drum unit following the reverse of the removal process, making sure it clicks securely into place.
After installing the new drum, you may need to reset the drum counter on your printer. This is typically done through the printer's control panel menu or by pressing a specific combination of buttons. Consult your printer's user manual for the exact reset procedure for your model. Failing to reset the counter may result in premature drum replacement warnings.
Extending the Life of Your Drum Unit
While drum units are consumable components that will eventually need to be replaced, there are several things you can do to maximize their lifespan. Keep your printer in a clean, dry environment with stable temperature and humidity levels. Avoid placing the printer near windows or in direct sunlight, as UV exposure can degrade the drum coating.
Use high-quality paper that is compatible with your printer. Low-quality or incompatible paper can increase friction on the drum surface, accelerating wear. Avoid using wrinkled, damp, or previously printed paper, as these can also damage the drum.
When the printer is not in use for extended periods, keep it covered to protect it from dust and light. If you need to remove the drum unit for any reason, place it in a dark bag or cover it with a cloth to protect it from light exposure. Clean the printer regularly according to the manufacturer's guidelines, paying particular attention to the paper path and the area around the drum unit.
When to Seek Professional Help
In most cases, replacing the drum unit will resolve light print issues. However, if you have replaced both the drum and the toner cartridge and are still experiencing light prints, there may be a deeper issue with your printer. Problems with the laser unit, the high-voltage power supply, or the fuser assembly can also cause light prints and typically require professional diagnosis and repair.
If your printer is still under warranty, contact the manufacturer's support team before attempting any repairs beyond basic consumable replacement. For older printers, compare the cost of professional repair against the cost of a new printer, as repair costs can sometimes exceed the value of the printer itself. Regardless of the outcome, understanding the role of the drum in your printer's operation can help you maintain better print quality and make more informed decisions about your printing equipment.
