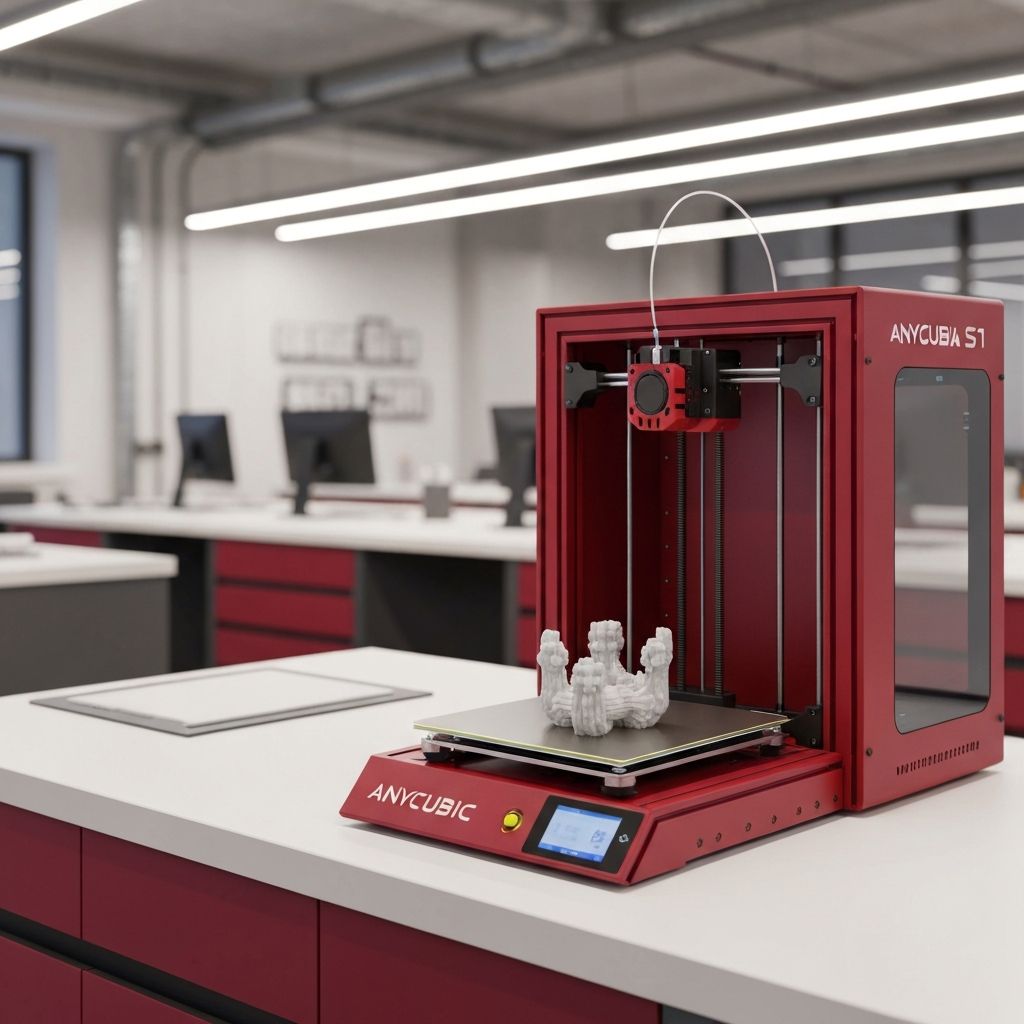
Introduction to the Anycubic Kobra S1
The Anycubic Kobra S1 is a popular consumer-grade FDM 3D printer known for its reliable performance, user-friendly interface, and innovative features that make 3D printing accessible to beginners and satisfying for experienced makers. One of the standout features of the Kobra S1 is its flexible magnetic build plate, which is specifically designed to make print removal quick and easy. However, even with this convenient feature, there are techniques and best practices that can help you remove prints more effectively and avoid common pitfalls.
The Kobra S1 features a spring steel build plate with a PEI coating that provides excellent adhesion when heated and easy release when cooled. The plate is held in place by a magnetic base, allowing you to simply lift it off the printer for print removal. This design eliminates the need to pry prints off the bed while it is still mounted on the printer, reducing the risk of damaging the printer's leveling system or the build plate itself. Understanding how to work with this system effectively will enhance your overall 3D printing experience with the Kobra S1.
Understanding the Kobra S1 Build Plate System
The Kobra S1 uses a dual-sided flexible build plate. One side features a smooth PEI surface that produces a glossy, mirror-like finish on the bottom of your prints, while the other side has a textured PEI surface that creates a matte, slightly rough finish. Each side has different adhesion characteristics and is suited for different materials and applications.
The smooth PEI side provides stronger adhesion, making it ideal for materials that tend to warp or lift, such as ABS and ASA. However, the stronger adhesion also means that prints can be more difficult to remove, especially prints with large, flat bottom surfaces. The textured PEI side provides moderate adhesion with easier release, making it the better choice for everyday printing with PLA and PETG. Understanding which side to use for your specific printing material and project will make print removal much easier.
The magnetic base that holds the build plate consists of a flexible magnetic sheet adhered to the printer's heated bed. The spring steel build plate is attracted to this magnetic base and stays securely in place during printing. When you need to remove a print, you simply lift one corner of the build plate and peel it away from the magnetic base. The magnetic attraction is strong enough to keep the plate firmly in place during printing but allows for easy removal by hand.
Step-by-Step Print Removal on the Kobra S1
Follow these detailed steps to safely and effectively remove a 3D print from your Anycubic Kobra S1 build plate.
Step 1: Wait for the Bed to Cool. After the print completes, the most important step is to wait for the heated bed to cool down. The Kobra S1's PEI surface is designed to release prints as it cools, and attempting to remove a print while the bed is still warm is the most common cause of difficulty and damage. Allow the bed to cool to at least 30 to 35 degrees Celsius before attempting removal. For best results, wait until the bed reaches room temperature, which typically takes 10 to 20 minutes after the print completes.
Step 2: Remove the Build Plate. Once the bed has cooled, lift one corner of the flexible build plate and peel it away from the magnetic base. Lift the plate carefully and evenly to avoid bending it excessively. Hold the plate by its edges and avoid touching the printing surface, as oils from your fingers can affect adhesion on future prints.
Step 3: Flex the Plate. Hold the build plate with both hands and gently flex it into a slight curve. The flexing action breaks the adhesion bond between the print and the PEI surface, causing the print to pop free. Start with gentle flexing and increase gradually. Most prints on the Kobra S1's textured PEI surface will release with minimal flexing. Prints on the smooth PEI surface may require slightly more force.
Step 4: Remove the Print. Once the print pops free from the surface, pick it up and inspect the bottom for any adhesion residue or surface imperfections. If any PEI material has transferred to the bottom of the print, this indicates that the adhesion was too strong and you may need to adjust your bed temperature or first-layer settings for future prints.
Step 5: Reattach the Build Plate. Place the build plate back on the magnetic base, aligning it carefully with the edges of the heated bed. Press the plate down gently to ensure full contact with the magnetic surface. The plate should sit flat and secure without any gaps or lifting at the edges.
Dealing with Stubborn Prints
Occasionally, a print may not release easily even after cooling and flexing. This can happen when the first layer is over-squished, the bed temperature is too high, or the print has a very large contact area with the build surface. Here are several strategies for dealing with stubborn prints on the Kobra S1.
If flexing does not release the print, try placing the build plate in a freezer for 5 to 10 minutes. The cold temperature causes additional contraction of the printing material, which can break the adhesion bond. After removing the plate from the freezer, flex it again and the print should pop off easily. This method is particularly effective for PLA and PETG prints.
If the freezer method does not work, you can use a thin plastic or nylon scraper to gently pry the print from the surface. Position the scraper at the edge of the print and work it under the first layer with gentle, even pressure. Never use a metal scraper on the Kobra S1's PEI surface, as metal tools will scratch and damage the coating. Work the scraper around the perimeter of the print to gradually loosen the bond.
As a last resort, you can try applying a small amount of isopropyl alcohol around the edges of the print. The alcohol can seep under the print and weaken the adhesion bond, making removal easier. Allow the alcohol to work for a few minutes before attempting to remove the print.
Optimizing First Layer Settings for Easy Removal
The most effective way to ensure easy print removal is to optimize your first layer settings so that you get reliable adhesion during printing without making the bond too strong to break afterward. On the Kobra S1, the key settings to adjust are the first layer height, bed temperature, and Z-offset.
A first layer height of 0.2 mm to 0.28 mm provides a good balance between adhesion and release for most materials. If your first layer is too thin (over-squished), it will bond too strongly to the build surface and be difficult to remove. If it is too thick (under-squished), it will not adhere properly and may lift during printing. Use the Kobra S1's auto-leveling feature to ensure consistent first-layer height across the entire build surface.
For PLA, a bed temperature of 55 to 60 degrees Celsius is usually optimal for the PEI surface. Higher temperatures increase adhesion, which can make removal more difficult. For PETG, use a bed temperature of 70 to 80 degrees Celsius and always print on the textured PEI side to prevent permanent bonding. For ABS, a bed temperature of 90 to 100 degrees Celsius on the smooth PEI side provides the best results.
Cleaning and Maintaining the Build Plate
Regular cleaning and maintenance of the Kobra S1's build plate ensures consistent adhesion and easy print removal over time. Before each print, wipe the build surface with a clean cloth dampened with isopropyl alcohol to remove any oils, dust, or residue from previous prints. Avoid using paper towels, as they can leave lint on the surface that affects adhesion.
Every 10 to 20 prints, give the build plate a more thorough cleaning with warm soapy water. Use a mild dish soap and a soft sponge to gently clean both sides of the plate, then rinse thoroughly and dry with a lint-free cloth. This removes any accumulated residue that isopropyl alcohol alone may not remove. Allow the plate to dry completely before reattaching it to the magnetic base.
Inspect the PEI surface regularly for signs of wear such as scratches, scuffs, or areas where the coating is thinning. Minor scratches are normal and usually do not affect performance, but deep gouges or large areas of damaged coating may require replacement of the build plate. Replacement plates for the Kobra S1 are readily available from Anycubic and third-party suppliers.
Troubleshooting Common Removal Issues
If you consistently have difficulty removing prints from your Kobra S1, the problem is almost always related to bed temperature, Z-offset, or build surface condition. Reduce your bed temperature by 5 degrees and see if removal becomes easier. Check your Z-offset and ensure the first layer is not being over-squished. Clean the build surface thoroughly, as contamination can cause inconsistent adhesion. If using the smooth PEI side, switch to the textured side for easier release.
If prints are too easy to remove or are detaching during printing, the opposite adjustments apply: increase bed temperature, decrease Z-offset slightly for better squish, and clean the surface to ensure optimal adhesion. Finding the right balance between adhesion and release is part of the learning process and may require some experimentation with your specific setup and materials.
Conclusion
Removing 3D prints from the Anycubic Kobra S1 is designed to be a straightforward process thanks to the printer's flexible magnetic build plate and PEI coating. By allowing the bed to cool before removal, using the flex-and-pop technique, and maintaining optimal first-layer settings, you can enjoy consistently easy print removal with minimal effort. Regular maintenance of the build surface and attention to your printing parameters will ensure reliable performance and long build plate life, making your Kobra S1 a dependable workhorse for all your 3D printing projects.
