Getting Started with 3D Printing: A Beginner's Complete Guide
3D printing has evolved from an expensive industrial tool to an accessible hobby that anyone can enjoy from the comfort of their home. Whether you are a creative enthusiast, an engineer prototyping new designs, or a hobbyist looking for a new pastime, learning how to use a 3D printer opens up a world of possibilities. This comprehensive guide will walk you through every step of the 3D printing process, from unboxing your first printer to producing your first successful print.
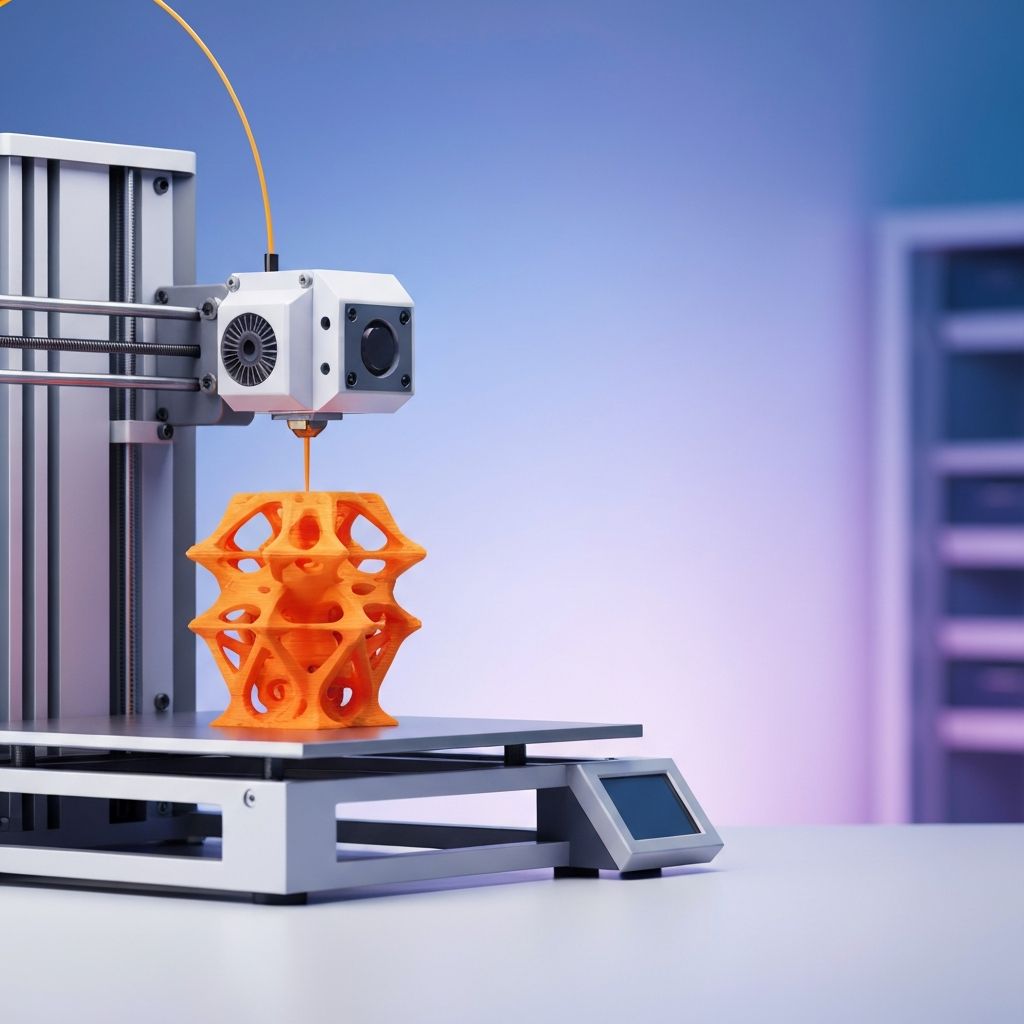
The technology behind 3D printing, also known as additive manufacturing, works by building objects layer by layer from a digital design file. The most common type of 3D printer for home use is the Fused Deposition Modeling (FDM) printer, which melts thermoplastic filament and deposits it in precise layers to create three-dimensional objects. Understanding this basic principle is the foundation for mastering the art of 3D printing.
Choosing and Setting Up Your 3D Printer
Before you can start printing, you need to select the right printer for your needs and budget. Entry-level FDM printers from brands like Creality, Anycubic, and Prusa offer excellent quality at price points ranging from $200 to $800. For beginners, the Creality Ender 3 series and the Prusa Mini are widely recommended due to their reliability, large community support, and abundance of online resources.
Once you have your printer, assembly is the first step. Most consumer 3D printers come partially assembled, requiring you to attach the frame, install the print head, and connect the electronics. Follow the manufacturer's instructions carefully, and do not rush this process. A properly assembled printer is the foundation for successful prints.
After assembly, you will need to level the print bed, which is one of the most critical steps in 3D printing. A level bed ensures that the first layer of your print adheres properly, which is essential for print success. Most printers include a bed-leveling procedure that involves adjusting the distance between the nozzle and the bed at multiple points using a piece of paper as a gauge.
Understanding 3D Printing Materials
The filament you use has a significant impact on the quality, strength, and appearance of your prints. PLA (Polylactic Acid) is the most popular filament for beginners because it is easy to print, produces minimal warping, does not require a heated bed (though one helps), and is made from renewable resources like cornstarch.
ABS (Acrylonitrile Butadiene Styrene) is another common filament that offers greater strength and heat resistance than PLA but is more challenging to print. It requires a heated bed, an enclosed print chamber is recommended, and it produces fumes during printing that require good ventilation.
PETG (Polyethylene Terephthalate Glycol) strikes a balance between PLA and ABS, offering good strength, flexibility, and ease of printing. Other specialty filaments include TPU for flexible prints, nylon for durable mechanical parts, and composite filaments that contain wood, carbon fiber, or metal particles for unique finishes.
When purchasing filament, invest in quality brands like Hatchbox, Polymaker, or Prusament. Cheap filament may save money upfront but can lead to inconsistent results, clogged nozzles, and wasted time.
Finding and Preparing 3D Models
You do not need to be a 3D designer to start printing. Websites like Thingiverse, Printables, and MyMiniFactory host millions of free and premium 3D models that you can download and print immediately. These repositories include everything from practical household items and tools to decorative art pieces and cosplay props.
If you want to create your own designs, free software like Tinkercad is perfect for beginners with its intuitive drag-and-drop interface. More advanced users can explore Fusion 360, Blender, or OpenSCAD for parametric and organic modeling. The key is to start simple and gradually build your skills as you become more comfortable with the design process.
Once you have a 3D model file, typically in STL or OBJ format, you need to prepare it for printing using slicer software. The slicer converts your 3D model into G-code, which is the set of instructions your printer follows to create the object layer by layer.
Mastering the Slicing Process
Slicing software is where you configure all the critical settings that determine print quality, speed, and material usage. Popular slicers include Cura (free and widely used), PrusaSlicer (free and feature-rich), and Simplify3D (paid with advanced features).
The most important slicer settings to understand include layer height, which determines the resolution of your print. A 0.2mm layer height is the standard for most prints, while 0.1mm produces finer detail at the cost of longer print times. Infill percentage controls how solid the interior of your print is, with 20 percent being suitable for decorative items and 50 to 100 percent for functional parts that need strength.
Print speed affects both quality and print time. Slower speeds generally produce better results, especially for detailed prints. A speed of 50mm per second is a good starting point for most prints. Support structures are another critical setting; they provide temporary scaffolding for overhanging features that would otherwise collapse during printing. Most slicers can automatically generate supports, but learning to orient your model to minimize the need for supports will improve your print quality.
Your First Print: Step by Step
With your printer assembled, bed leveled, filament loaded, and model sliced, you are ready for your first print. Start with a simple test print like a calibration cube or a benchy boat, which are standard test models used to evaluate print quality.
Load your filament by heating the nozzle to the appropriate temperature for your material (typically 200 to 210 degrees Celsius for PLA) and feeding the filament through the extruder until it flows smoothly from the nozzle. Clean any excess filament from the nozzle before starting your print.
Transfer the G-code file to your printer via SD card, USB drive, or direct connection, depending on your printer's capabilities. Start the print and watch the first few layers carefully. The first layer is the most critical; it should adhere firmly to the bed without being squished too flat or sitting too high. If the first layer looks good, you can step away and let the printer do its work.
Troubleshooting Common 3D Printing Problems
Even experienced 3D printing enthusiasts encounter issues. Bed adhesion problems, where the print does not stick to the bed, can be resolved by re-leveling the bed, adjusting the nozzle height, cleaning the bed surface, or using adhesion aids like glue sticks, hairspray, or specialized print surfaces.
Stringing, which appears as thin wisps of filament between parts of your print, is typically caused by insufficient retraction settings or too-high printing temperatures. Adjusting your retraction distance and speed in the slicer, as well as lowering the print temperature by 5 to 10 degrees, can usually eliminate stringing.
Layer shifting, warping, under-extrusion, and clogged nozzles are other common issues that have well-documented solutions. The 3D printing community is incredibly helpful, and forums on Reddit, Facebook groups, and manufacturer support pages are excellent resources for troubleshooting.
Advanced Tips for Better 3D Prints
As you gain experience, several advanced techniques can elevate your printing quality. Calibrating your extruder's e-steps ensures that the correct amount of filament is being pushed through the nozzle. Running temperature and retraction towers helps you find the optimal settings for each filament brand and type.
Post-processing techniques like sanding, priming, and painting can transform a basic print into a professional-looking finished product. For PLA prints, sanding with progressively finer grits from 200 to 2000 followed by a coat of filler primer and spray paint produces excellent results.
Upgrading your printer with aftermarket parts can also improve performance. Common upgrades include all-metal hotends for higher temperature printing, direct drive extruders for better filament control, and upgraded print surfaces for improved bed adhesion. These modifications can extend the capabilities of even budget-friendly printers and help you tackle more challenging prints with confidence.
