Understanding the Challenge of 3D Print Removal
One of the most common challenges faced by 3D printing enthusiasts, whether beginners or experienced makers, is removing a finished print from the build plate without damaging the print or the build surface. The Creality Ender-3 S1 and similar FDM printers use heated build plates with various surface coatings designed to provide strong adhesion during printing, which is exactly what creates the difficulty when it comes time to remove the finished object.
The adhesion that keeps your print firmly attached during a multi-hour print job can make removal frustrating if you do not know the proper techniques. Forcing a print off the build plate can result in broken prints, damaged build surfaces, warped plates, and even personal injury from sharp tools slipping. Understanding the science behind print adhesion and learning the correct removal methods will save you time, materials, and frustration.
Why 3D Prints Stick to the Build Plate
To effectively remove prints, it helps to understand why they stick in the first place. When the first layer of melted filament is deposited onto the heated build plate, it forms a mechanical and sometimes chemical bond with the build surface. The strength of this bond depends on several factors including the bed temperature, the type of build surface, the filament material, the first layer settings, and any adhesion aids used.
PLA, the most commonly used filament, typically adheres well to a variety of surfaces at bed temperatures between 50 and 60 degrees Celsius. PETG bonds even more aggressively and can sometimes fuse with certain build surfaces if the first layer is too close. ABS uses higher bed temperatures and often requires adhesion aids like ABS slurry or glue stick, which create their own removal considerations.
The S1 printer comes with a flexible PEI-coated spring steel build plate, which is one of the most user-friendly surfaces for print removal. The PEI coating provides excellent adhesion when warm and releases prints much more easily when cooled. Understanding this thermal property is key to easy print removal.
Method 1: The Cool-Down Technique
The simplest and most recommended method for removing prints from the S1 build plate is the cool-down technique. This method takes advantage of the different thermal expansion rates of the plastic filament and the metal build plate. As the plate cools, the metal contracts at a different rate than the plastic, which gradually breaks the adhesion bond.
After your print is complete, turn off the bed heater and allow the plate to cool to room temperature naturally. Do not try to speed up the cooling process by placing the plate in a refrigerator or using compressed air, as rapid cooling can cause warping in both the plate and the print. For PLA prints, you will often hear small cracking sounds as the plate cools, which is the print releasing from the surface.
With PLA on the PEI surface of the S1, many prints will pop off completely on their own once the plate reaches room temperature. Simply flex the spring steel plate gently by lifting the edges, and the print should release cleanly. This is one of the major advantages of the flexible build plate system.
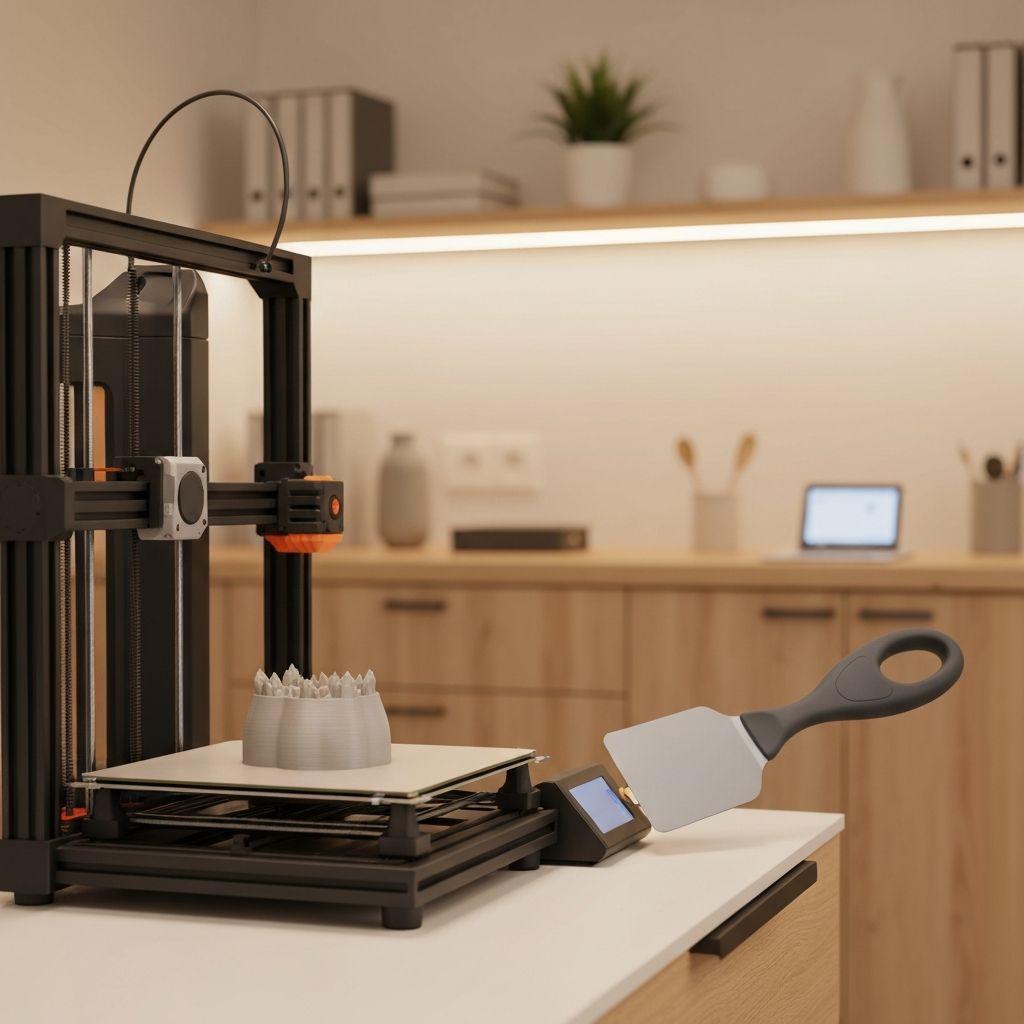
Method 2: Using a Print Removal Tool
If the cool-down technique alone does not fully release the print, the next step is to use a print removal tool. The S1 typically comes with a flat metal spatula or scraper designed for this purpose. There are also specialized 3D print removal tools available that feature thin, flexible blades specifically designed for getting under prints without damaging the build surface.
To use the removal tool effectively, ensure the build plate has cooled to at least room temperature. Position the blade at a low angle (approximately 15 to 20 degrees) against the build plate surface, with the edge touching the base of the print. Apply steady, even pressure and slide the blade under the print, working your way around the perimeter.
Never pry upward with the tool, as this can gouge the build surface and damage the PEI coating. Instead, use a sliding motion that keeps the blade flat against the plate surface. Work from multiple sides, gradually loosening the print until it releases. For larger prints, you may need to work your way around the entire perimeter before the print comes free.
Method 3: The Flex and Release Technique
The S1 printer features a removable magnetic spring steel build plate, which offers a unique and highly effective removal method. Once the plate has cooled, remove it from the printer by lifting it off the magnetic base. Hold the plate with both hands and gently flex it by bending the edges upward.
The slight flexing of the plate causes the rigid print to separate from the surface as the plate curves beneath it. Start with gentle flexing and gradually increase the bend until the print pops free. Be careful not to flex the plate too aggressively, as this can permanently deform it and cause leveling issues in future prints.
This technique works exceptionally well with PLA and is often the only removal method needed. For PETG and ABS, it may need to be combined with the spatula technique for stubborn prints.
Method 4: Isopropyl Alcohol Soak
For prints that are particularly stubborn, especially those printed with PETG, which tends to bond very aggressively to PEI surfaces, an isopropyl alcohol (IPA) soak can help break the adhesion. Apply a generous amount of 90 percent or higher concentration IPA around the base of the print where it meets the build surface.
Allow the alcohol to sit for several minutes. The IPA will seep between the print and the build surface through any micro-gaps and help dissolve the adhesion bond. After soaking, attempt removal using the spatula or flex technique. The combination of IPA and mechanical removal is highly effective for even the most stubborn prints.
Method 5: Warm Water Bath
Another gentle removal method involves using warm water. Remove the build plate from the printer and submerge the plate and print in warm (not hot) water for 10 to 15 minutes. The water seeps between the print and the surface through capillary action, and the slight temperature change can help break the adhesion bond.
This method is particularly effective for prints that use water-soluble adhesion aids like PVA glue stick. The warm water dissolves the glue layer, allowing the print to slide off easily. After using this method, make sure to thoroughly dry the build plate before your next print to prevent adhesion issues.
Preventing Overly Strong Adhesion
Prevention is often better than cure. If you consistently struggle with print removal, consider adjusting your print settings to reduce first-layer adhesion to a more manageable level. The most impactful setting is the Z-offset or first layer height. If the nozzle is too close to the bed, the first layer will be squished too thin and bond excessively to the surface.
Increase the Z-offset slightly (moving the nozzle further from the bed) by 0.02 to 0.05mm increments until you find a balance between good adhesion during printing and easy removal afterward. The first layer should be smooth and consistent but not transparent or paper-thin.
Reducing the bed temperature by 5 degrees for the first few layers can also help. For PETG specifically, applying a thin layer of glue stick to the PEI surface before printing actually acts as a release agent, creating a barrier between the PETG and the PEI that makes removal much easier.
Maintaining Your Build Surface
Proper maintenance of your build surface ensures consistent adhesion and easy removal over the long term. Clean the PEI surface regularly with isopropyl alcohol to remove oils, fingerprints, and residue. Avoid touching the build surface with bare hands, as skin oils can create uneven adhesion.
If your PEI surface becomes worn or damaged, it can be rejuvenated by lightly sanding with 1000-grit or finer sandpaper, followed by a thorough IPA cleaning. For severely worn surfaces, replacement PEI sheets are readily available and easy to apply.
Conclusion
Removing 3D prints from the S1 build plate does not have to be a struggle. By allowing the plate to cool completely, using the flexible plate to your advantage, and employing the right tools and techniques, you can remove even large prints cleanly and easily. Remember that patience is your best tool, and forcing a print off the plate is never the right approach. With these techniques in your repertoire, you will enjoy frustration-free print removal every time.
