The Ultimate Guide to Homemade Ice Cream Cake
Ice cream cake is the perfect fusion of two beloved desserts: cake and ice cream. This show-stopping creation has been a centerpiece at birthday parties, celebrations, and summer gatherings for decades, and for good reason. The combination of creamy ice cream layers with cookie or cake crumbles and a whipped topping creates a textural experience that neither dessert could achieve on its own. While store-bought ice cream cakes are readily available, nothing compares to the satisfaction and superior flavor of a homemade version.
Making an ice cream cake at home is far easier than most people imagine. With some basic planning, a few simple ingredients, and a bit of patience for the freezing process, you can create a stunning frozen masterpiece that rivals anything from a professional bakery. The best part is that you have complete control over the flavors, ingredients, and design, allowing you to customize it to suit any occasion or dietary preference.
Essential Equipment and Ingredients
Before you begin, gather your equipment and ingredients. You'll need a 9-inch springform pan, which makes unmolding the finished cake much easier than a standard cake pan. If you don't have a springform pan, you can line a regular cake pan with plastic wrap, leaving plenty of overhang to help lift the cake out later. You'll also need a large mixing bowl, a spatula or offset spatula, parchment paper, and plastic wrap.
For a classic ice cream cake, you'll need approximately one and a half quarts of your favorite ice cream in two different flavors, about 20 to 25 chocolate sandwich cookies like Oreos, half a cup of melted butter, and a container of whipped topping or ingredients to make fresh whipped cream. Optional additions include hot fudge sauce, caramel sauce, sprinkles, and fresh fruit for decoration.
The beauty of ice cream cake is its flexibility. You can use any combination of ice cream flavors, any type of cookie for the crumb layer, and any toppings that inspire you. Popular combinations include vanilla and chocolate ice cream with Oreo crumbles, strawberry and vanilla with graham cracker crust, or mint chocolate chip and cookies and cream with chocolate cookie crumbles.
Preparing the Cookie Crumb Layer
The cookie crumb layer serves as both the crust and the internal divider between ice cream layers, providing structural support and a delightful crunch that contrasts beautifully with the smooth ice cream. To prepare the crumbles, place about 20 chocolate sandwich cookies, including the cream filling, into a food processor and pulse until you have fine crumbs. Alternatively, place the cookies in a zip-lock bag and crush them with a rolling pin.
Transfer the cookie crumbs to a mixing bowl and add the melted butter. Stir until the crumbs are evenly coated and hold together when pressed. The butter acts as a binding agent that helps the crumb layer maintain its structure when the cake is sliced. Without enough butter, the crumbs will be loose and fall apart.
Take about two-thirds of the crumb mixture and press it firmly and evenly into the bottom of your prepared springform pan. Use the bottom of a measuring cup or glass to compact the crumbs into a solid, even layer. Place the pan in the freezer for about 15 minutes to firm up the crust while you prepare the first ice cream layer. Reserve the remaining crumbs for the middle layer.
Layering the Ice Cream
The key to perfectly layered ice cream cake is working with softened, but not melted, ice cream. Remove your first flavor of ice cream from the freezer and let it sit at room temperature for about 10 to 15 minutes until it's soft enough to spread easily but still holds its shape. You're aiming for a thick, spreadable consistency similar to soft-serve ice cream.
Scoop the softened ice cream onto the frozen cookie crust and spread it into an even layer using a spatula or the back of a large spoon. Work quickly to prevent the ice cream from melting too much. The layer should be about one to one and a half inches thick. If you want to add a fudge or caramel swirl, drizzle it over this layer and use a knife to create a swirl pattern.
Place the pan back in the freezer for at least 30 minutes, or until the first ice cream layer is firm to the touch. This freezing step is crucial for preventing the layers from mixing together. While this layer freezes, take your second ice cream flavor out of the freezer to begin softening.
Once the first layer is firm, sprinkle the reserved cookie crumbs evenly over the surface. This creates the signature crunch layer that makes ice cream cake so special. Press the crumbs gently into the ice cream to help them adhere. Spread the softened second flavor of ice cream over the cookie crumb layer, creating another even layer. Smooth the top as neatly as possible.
Adding the Fudge Layer
A layer of hot fudge sauce between the ice cream layers is what takes a homemade ice cream cake from good to extraordinary. Prepare the fudge layer by warming your hot fudge sauce just enough to make it pourable, but not hot, as hot fudge poured onto ice cream will melt it immediately.
Alternatively, you can make your own simple fudge layer by melting together one cup of semi-sweet chocolate chips with half a cup of heavy cream in the microwave in 30-second intervals, stirring between each interval until smooth. Let this mixture cool to room temperature before using. Pour it over the cookie crumb layer and spread it into a thin, even coating before adding the second ice cream layer.
Caramel sauce makes an excellent alternative or addition to the fudge layer. You can also combine both for a chocolate-caramel combination that is absolutely decadent. Just remember that any sauce you add needs to be at room temperature or cooler to prevent melting the ice cream layers.
The Whipped Cream Topping
The crowning glory of any ice cream cake is its whipped cream topping. You have two options: store-bought whipped topping or homemade whipped cream. Homemade whipped cream is easy to make and tastes significantly better. To make it, whip two cups of heavy cream with three tablespoons of powdered sugar and one teaspoon of vanilla extract using a stand mixer or hand mixer until stiff peaks form.
Before adding the whipped topping, make sure the top ice cream layer is completely firm. Remove the cake from the freezer and spread the whipped cream or topping evenly over the entire surface. You can create decorative peaks and swirls using the back of a spoon or a spatula. For a more polished look, use a piping bag fitted with a star tip to pipe rosettes or borders around the edge of the cake.
If you're using homemade whipped cream, work quickly as it can soften and become difficult to work with at room temperature. Once the topping is applied, return the cake to the freezer immediately. For the most stable whipped cream topping, you can fold in two tablespoons of cream cheese or one tablespoon of cornstarch into the cream before whipping to help it hold its shape better during freezing.
Decorating Your Ice Cream Cake
The decoration is where you can let your creativity shine. For a classic look, drizzle hot fudge or caramel sauce over the whipped cream topping in a zigzag pattern. Sprinkles add color and fun, making them perfect for birthday cakes. Crushed cookies, chopped nuts, or mini chocolate chips can be pressed around the sides of the cake for added texture and visual appeal.
Fresh fruit makes beautiful and delicious decorations. Whole strawberries, raspberries, or blueberries arranged on top of the whipped cream create an elegant presentation. Chocolate shavings made by running a vegetable peeler along the edge of a chocolate bar add a sophisticated touch. For special occasions, consider adding candles, edible flowers, or chocolate letters spelling out a name or message.
For a chocolate ganache drip effect, warm equal parts chocolate chips and heavy cream until smooth, let it cool until thickened but still pourable, then drizzle it around the edges of the cake, allowing it to drip down the sides. This dramatic effect looks impressive but is surprisingly easy to achieve.
Cutting and Serving Tips
Cutting an ice cream cake cleanly requires a bit of technique. Remove the cake from the freezer about 10 to 15 minutes before you plan to serve it. This brief tempering period allows the ice cream to soften just enough for clean, even slices without being so soft that it melts and falls apart.
Use a large, sharp knife dipped in hot water for each cut. Wipe the knife clean between slices for the neatest presentation. The hot knife glides through the frozen layers smoothly, creating clean edges that show off the beautiful layers inside. If you're serving a large group, it can be helpful to have a second knife and a glass of hot water ready.
Serve slices on chilled plates if possible, as this helps prevent the ice cream from melting too quickly. Have napkins readily available, as ice cream cake can be messy, especially in warm weather. Any leftover cake should be returned to the freezer immediately and covered with plastic wrap to prevent ice crystals from forming on the surface.
Flavor Combination Ideas
Part of the joy of homemade ice cream cake is experimenting with unique flavor combinations. Here are some proven winners to inspire your creations. A cookies and cream cake features vanilla ice cream and cookie dough ice cream with double Oreo crumb layers. A tropical paradise version uses coconut ice cream and mango sorbet with a graham cracker crust and toasted coconut topping.
For coffee lovers, try espresso ice cream with chocolate ice cream, a chocolate cookie crust, and a coffee whipped cream topping made by dissolving instant espresso in the cream before whipping. A s'mores inspired version uses chocolate ice cream and marshmallow swirl ice cream with a graham cracker crust, chocolate fudge layer, and toasted marshmallows on top.
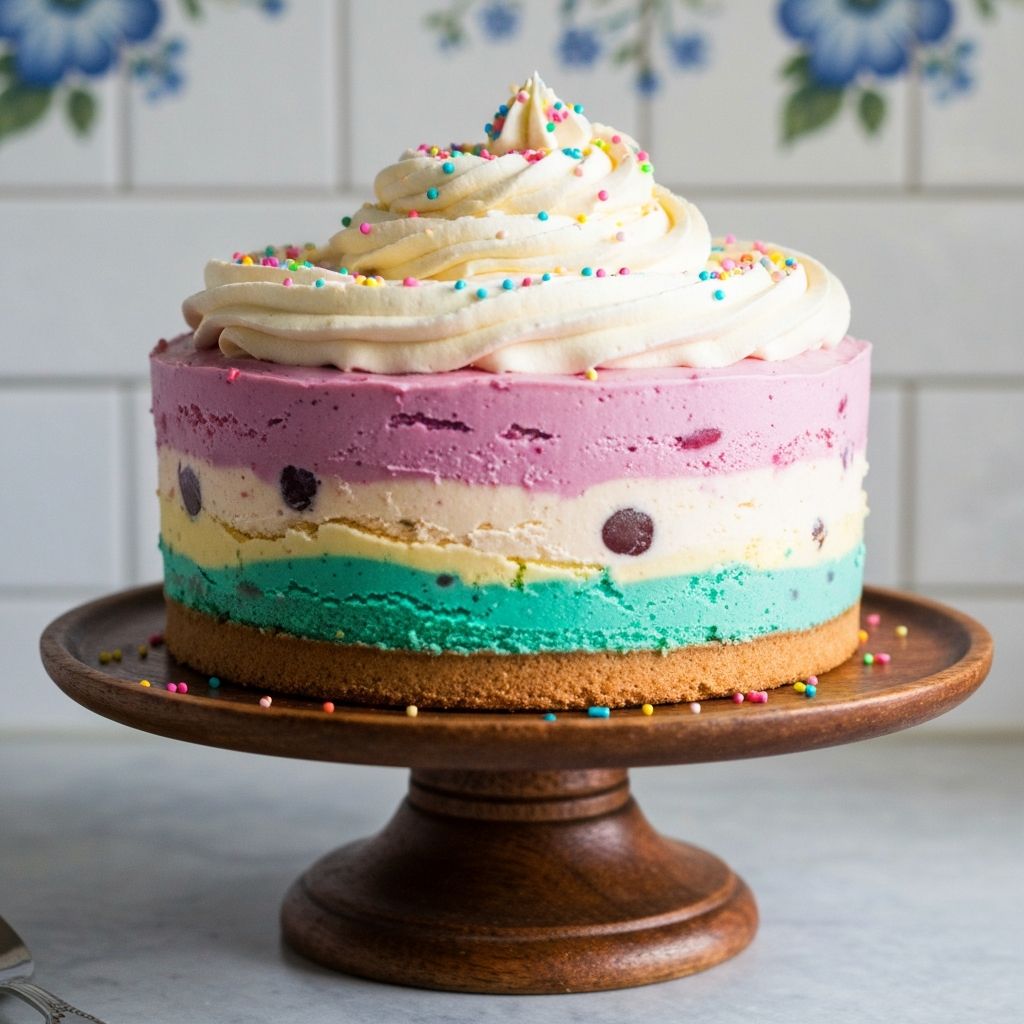
For a classic birthday party cake, combine birthday cake flavored ice cream with vanilla ice cream, rainbow sprinkle layers, a Funfetti cookie crust, and colorful sprinkles on the whipped cream topping. The options are truly limited only by your imagination and your local grocery store's ice cream selection.
Conclusion
Making an ice cream cake at home is a rewarding project that produces a dessert far superior to anything you can buy at the store. With simple ingredients, basic equipment, and a bit of patience for the freezing process, you can create a stunning centerpiece for any celebration. The layered combination of creamy ice cream, crunchy cookie crumbles, rich fudge, and fluffy whipped cream is irresistible, and the ability to customize every element makes it a truly personal creation. Start planning your flavor combination today and prepare to impress your family and friends with your homemade ice cream cake.
